
SLIDE 1
Be Prepared, Have a Plan: Emergency Preparedness Toolkit
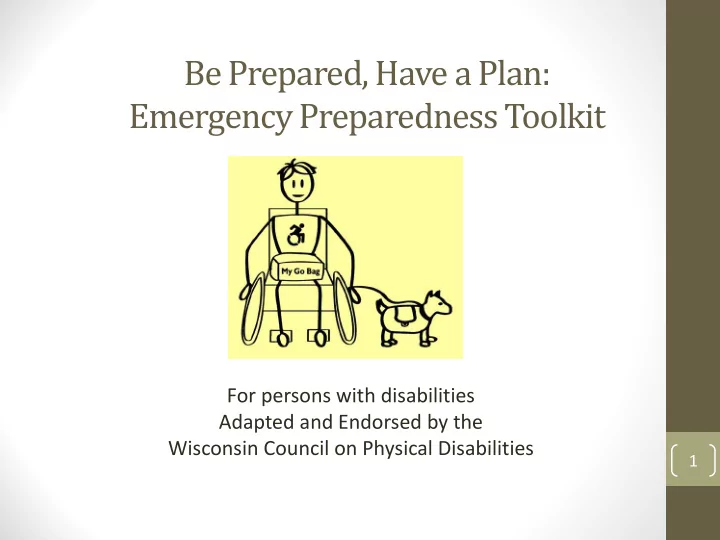
For persons with disabilities Adapted and Endorsed by the Wisconsin Council on Physical Disabilities
1
Be Prepared, Have a Plan: Emergency Preparedness Toolkit For - - PowerPoint PPT Presentation
Be Prepared, Have a Plan: Emergency Preparedness Toolkit For persons with disabilities Adapted and Endorsed by the Wisconsin Council on Physical Disabilities 1 About the Wisconsin Council on Physical Disabilities (CPD) Created by the
For persons with disabilities Adapted and Endorsed by the Wisconsin Council on Physical Disabilities
1
2
3
4
5
6
informed!
twice a year
7
8
9
10
11
12
13
14
15
16
17
18
19
20
21
22
23
24
25
26
http://www.nfpa.org/public-education/by-topic/safety-in-the- home/escape-planning/basic-fire-escape-planning.
Everyone in the household must understand the escape plan.
sleeping area and on every level of the home.
limitations, make sure that someone is assigned to assist them in the fire drill and in the event of an emergency.
27
28
29
Disabilities During Emergencies
30
31
32
1. Promotion of Safety 2. Promotion of Calmness 3. Promotion of Connectedness 4. Promotion for Self and Community Efficacy 5. Instilling Hope (Source: Five Essential Elements of Immediate and Mid-Term Mass Trauma Intervention: Empirical Evidence. Hobell, Walson, Bell, et al 2007)
33
34
human resilience. Its aim is to reduce stress symptoms and assist in health recovery following a traumatic event, natural disaster, public health emergency, or even a personal crisis.
PTSD are pleased to make the Second Edition of Psychological First Aid Field Operations Guide and accompanying handouts available at: http://www.nctsn.org/content/psychological-first-aid.
35
encounter when working with people with disabilities or the elderly include:
36
https://www.youtube.com/watch?v=Gv1aDEFlXq8&list=PLbFK GFkIKL21ureNznAlzeQmeB4zECsOc#action=share
37
depression, or asthma.
as limiting as permanent disabilities.
personal questions.
with various disabilities. These are not all inclusive but may be helpful in emergency situations.
(These tips and resources are from University of Washington: https://depts.washington.edu/uwdrs/faculty/faculty-resources/tips- for-working-with-different-disabilities)
38
get his or her attention.
mouth.
be cutting off their conversation.
expressions.
39
in a long conversation with someone who uses a chair.
for an answer.
these words too.
wheelchair users, such as steps or insufficiently wide doors.
with mobility limitations, they are not a luxury, they are a necessity.
care attendant.
first obtaining permission from the owner.
40
to respond to you.
person.
methods such as writing notes, emailing, or technological
41
person’s reading, writing, math, memory, and/or information processing.
disabilities.
background noises, etc.).
influenced by a processing difficulty which affects social interaction.
42
using such terms as “over there” or “turn this way”.
without first getting permission from the owner.
to support the individual in using their technology to speak content aloud.
when seating them.
43
Examples: Cancer, Asthma, Emphysema, Diabetes, HIV/AIDS, Sickle Cell
and treatments.
someone should be referred to as “the girl who has cancer” not “the cancer girl”.
44
Examples: Cerebral Palsy, Seizures, MS, Tourette, Muscular Dystrophy, TBI (traumatic brain injury)
that look like mobility issues, others may have similar effects as learning disabilities.
disability.
45
to chat, you need to make an appointment first”.
46
humor is often missed.
appropriate to encourage understanding.
until our meeting is done”.
learn appropriate interactions.
by a cognitive difficulty which affects social interaction.
47
deaf to a fire alarm or lead someone who is blind out of a building.
Offer help, but only give it when accepted or requested.
your training.
48
1. Get the person’s attention first. Speak to them at eye level. Identify yourself and explain why you are there, no matter how obvious it may seem. 2. Look at the person when you speak. Speak slowly with a low- pitched and calm voice. 3. Use short, familiar words, such as “What do you need?” 4. Ask questions that can be answered with a yes or no, if possible. 5. Ask one question at a time. Also give directions one at a time. 6. Give the person time to respond to your question or follow directions. 7. Repeat, rephrase, or write your message if necessary. 8. Ask permission first, before touching the person. 9. Ask before moving a person or a person’s wheelchair/mobility device.
49
and tips for first responders Description: The Mobile TIPS for First Responders was developed by Project REDD at the Center on Disability and Development at Texas A&M University. The Mobile TIPS are adapted from Dr. Tony Cahill’s 3rd Edition of the TIPS for First Responders, developed at the Center for Development and Disability at the University of New Mexico and from the TIPS for First Responders and Texas Resources for Services and Supports, developed at the Texas Center on Disability Studies at the University of Texas at Austin. Please visit: http://disabilitytips.tamu.edu/
50
Description: In a disaster, it's essential that behavioral health responders have the resources they need—when and where they need them. The SAMHSA Disaster App makes it easy to provide quality support to survivors. Users can navigate pre-deployment preparation, on-the-ground assistance, post-deployment resources, and more—at the touch of a button from the home screen. Users also can share resources, like tips for helping survivors cope, and find local behavioral health services. And, self-care support for responders is available at all stages of deployment. Apple: https://itunes.apple.com/us/app/samhsa-behavioral-health- disaster/id787518271?mt=8&WT.ac=LP_20140206_DISASTERAPP_IT UNES Google: https://play.google.com/store/apps/details?id=gov.hhs.samhsa.app. disaster&WT.ac=LP_20140206_DISASTERAPP_GOOGLEPLAY
51
Description: The Maryland Office of Preparedness and Emergency Management has created a simple, hands-on tool to reduce communication barriers and better assist individuals with access and functional needs, and professional shelter staff and volunteers, make their needs and concerns understood within a community shelter setting during an emergency. Apple: https://itunes.apple.com/in/app/show-me-for- emergencies/id840012297?mt=8 Google: https://play.google.com/store/apps/details?id=gov.ma.dph.sh
52
53
54
55
This material was made possible in part, by a cooperative grant from the Centers for Disease Control and Prevention (CDC) Public Health Emergency Preparedness (PHEP), Grant Number CFDA 93.074-CDCRFA-TP12-1201. Additional support for this material was provided in part, by the Wisconsin Division of Public Health Public Health Emergency Preparedness Program, Grant Number 5U90TP000561-05 from Centers for Disease Control and Prevention (CDC) Public Health Emergency Preparedness (PHEP) Program. The views expressed in the materials do not necessarily reflect the official policies of the Department of Health and Human Services nor does mention of trade names, commercial practices, or organizations imply endorsement by the U.S. Government.
56
57