
SLIDE 1
Ba Basic sics of s of Pow Power erPoint
- int to cr
- creat
Ba Basic sics of s of Pow Power erPoint oint to cr o creat - - PDF document
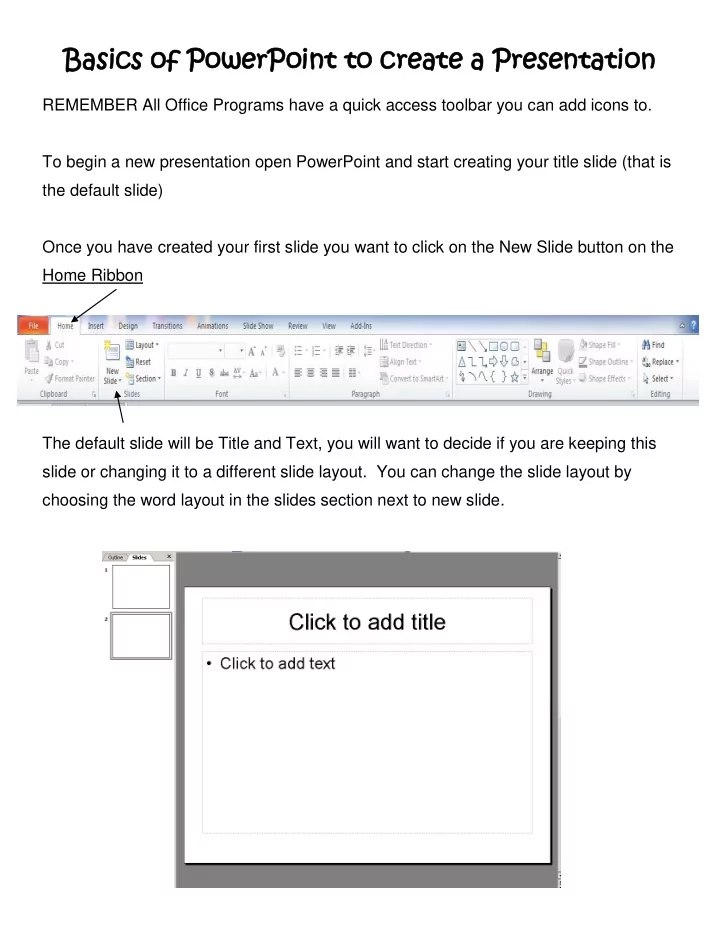
Ba Basic sics of s of Pow Power erPoint oint to cr o creat eate a e a Pre Presenta sentatio tion REMEMBER All Office Programs have a quick access toolbar you can add icons to. To begin a new presentation open PowerPoint and start