
SLIDE 1
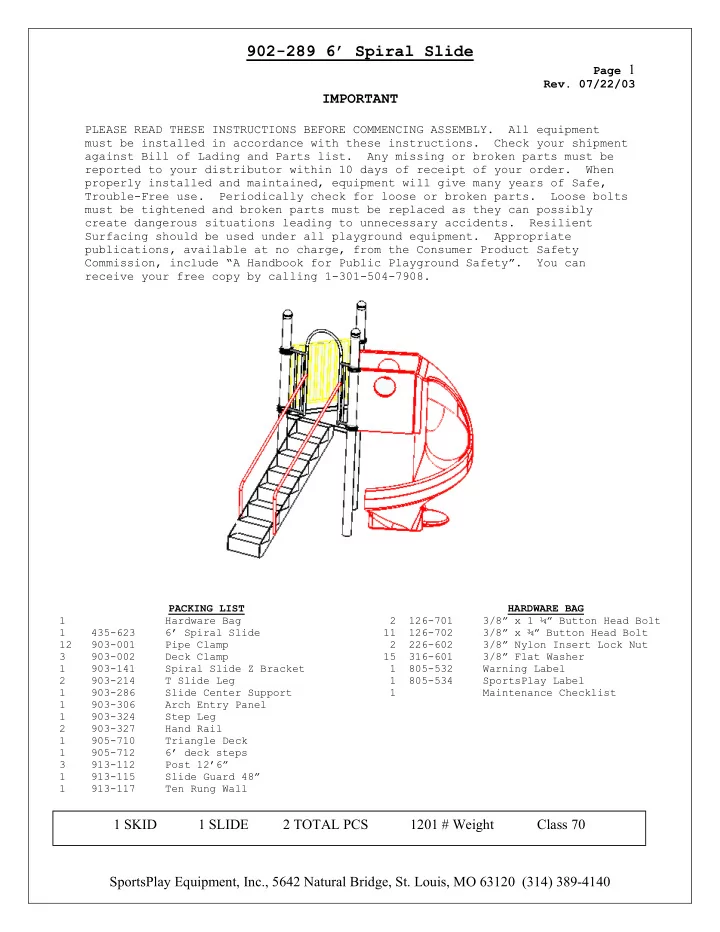
902-289 6’ Spiral Slide
Page 1
- Rev. 07/22/03
902-282: SPIRAL SLIDE P-1 Rev. 07/22/03 PARTS LIST KKJJJ - - PDF document
902-289 6 Spiral Slide Page 1 Rev. 07/22/03 IMPORTANT PLEASE READ THESE INSTRUCTIONS BEFORE COMMENCING ASSEMBLY. All equipment must be installed in accordance with these instructions. Check your shipment against Bill of Lading and Parts