
SLIDE 1
Presentation Technology Guide The Commons
Trocaire Co College ge Educati tional T Tech chnology
Pr Pres esent entat ation n Te Techno nolog
- gy G
Gui uide | | Th The Com
- mmons
ns Last Updated: 1/11/19 at 12:43 PM Page 1 of 3
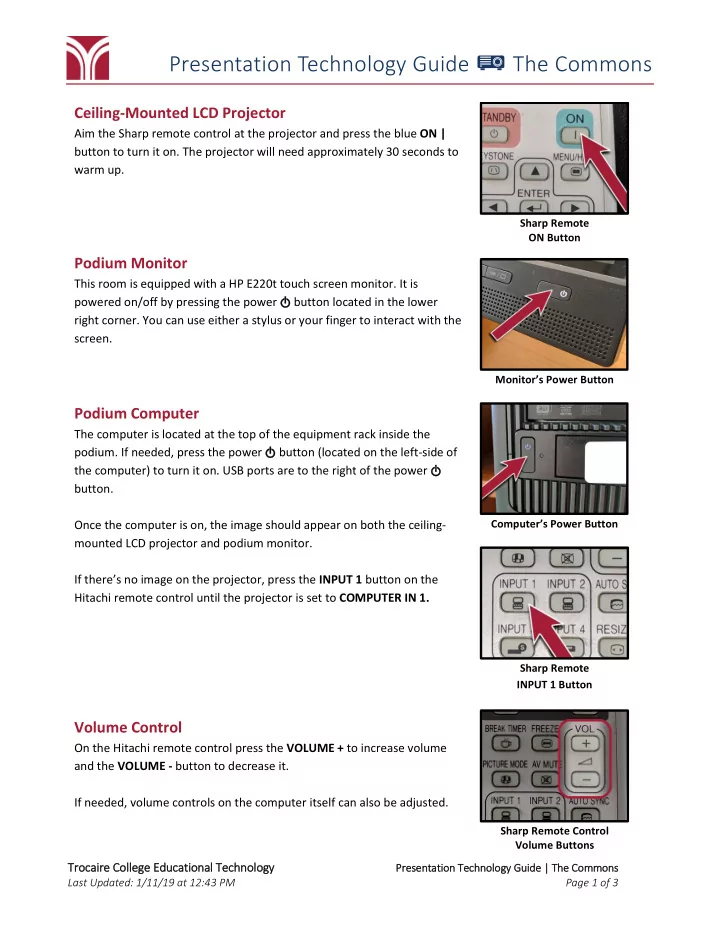
Ceiling-Mounted LCD Projector
Aim the Sharp remote control at the projector and press the blue ON | button to turn it on. The projector will need approximately 30 seconds to warm up.
Podium Monitor
This room is equipped with a HP E220t touch screen monitor. It is powered on/off by pressing the power L button located in the lower right corner. You can use either a stylus or your finger to interact with the screen.
Podium Computer
The computer is located at the top of the equipment rack inside the
- podium. If needed, press the power L button (located on the left-side of
the computer) to turn it on. USB ports are to the right of the power L button. Once the computer is on, the image should appear on both the ceiling- mounted LCD projector and podium monitor. If there’s no image on the projector, press the INPUT 1 button on the Hitachi remote control until the projector is set to COMPUTER IN 1.
Volume Control
On the Hitachi remote control press the VOLUME + to increase volume and the VOLUME - button to decrease it. If needed, volume controls on the computer itself can also be adjusted.
Sharp Remote ON Button Monitor’s Power Button Computer’s Power Button Sharp Remote INPUT 1 Button Sharp Remote Control Volume Buttons