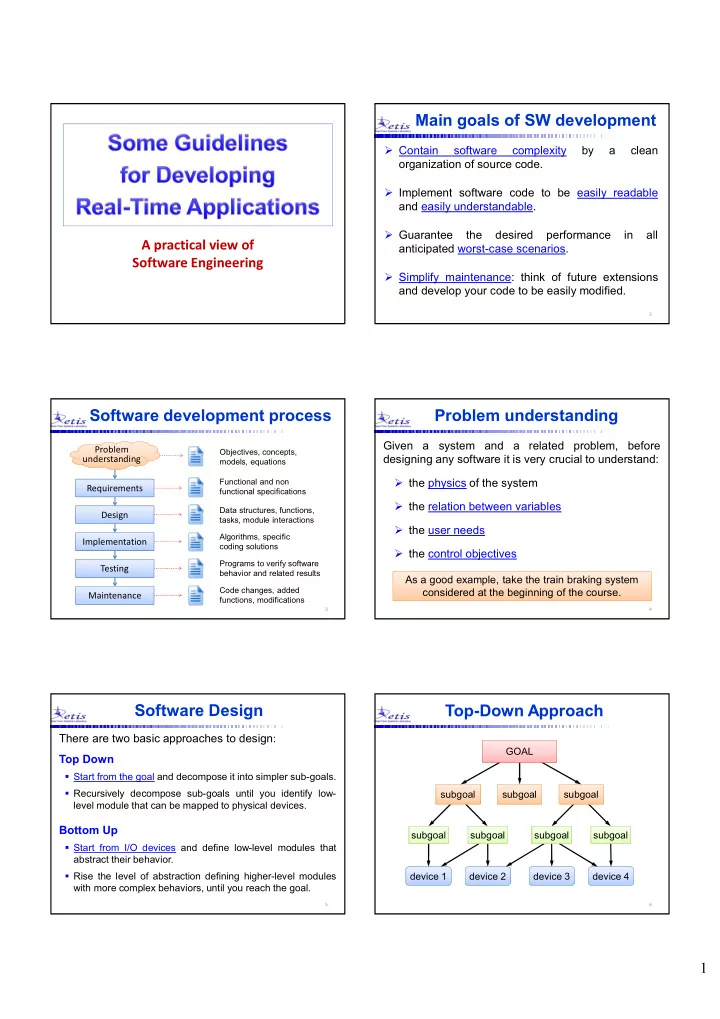
Main goals of SW development Contain software complexity by a - - PDF document

main goals of sw development
SMART_READER_LITE
LIVE PREVIEW

Main goals of SW development Contain software complexity by a - - PDF document

Main goals of SW development Contain software complexity by a clean organization of source code. Implement software code to be easily readable and easily understandable. Guarantee the desired performance in all A practical


slide-1
SLIDE 1

1 A practical view of Software Engineering

2

Main goals of SW development

  • Contain

software complexity by a clean

  • rganization of source code.
  • Implement software code to be easily readable

and easily understandable.

  • Guarantee

the desired performance in all anticipated worst-case scenarios.

  • Simplify maintenance: think of future extensions

and develop your code to be easily modified.

3

Software development process

Objectives, concepts, models, equations Functional and non functional specifications Data structures, functions, tasks, module interactions Algorithms, specific coding solutions Programs to verify software behavior and related results Code changes, added functions, modifications

Requirements Design Implementation Testing Maintenance Problem understanding Problem understanding

4

Problem understanding

Given a system and a related problem, before designing any software it is very crucial to understand:

  • the physics of the system
  • the relation between variables
  • the user needs
  • the control objectives

As a good example, take the train braking system considered at the beginning of the course.

5

Software Design

Top Down

  • Start from the goal and decompose it into simpler sub-goals.
  • Recursively decompose sub-goals until you identify low-

level module that can be mapped to physical devices.

There are two basic approaches to design: Bottom Up

  • Start from I/O devices and define low-level modules that

abstract their behavior.

  • Rise the level of abstraction defining higher-level modules

with more complex behaviors, until you reach the goal. device 1 device 2 device 3 device 4 subgoal subgoal subgoal subgoal subgoal subgoal subgoal

6

Top-Down Approach

GOAL

slide-2
SLIDE 2

2

move hand detect obstacles move arm

7

Top-Down Approach

GRASP object joint control joint sensing encoder motor camera Inverse kinematics image processing

8

Bottom-Up Approach

Devices

video camera US sensor

  • ptical

encoder dc motor video camera US sensor

  • ptical

encoder dc motor

Mid-level

visual tracking

  • bstacle

avoidance contour following

Low-level

edge detection distance detection position control

High-level

assembling painting sorting assembling painting sorting

Develop new layers with higher level of abstractions:

9

Pro and cons

  • Risk of the Top-Down approach:

High-level reasoning hides practical problems, so we may design a system that is too abstract and difficult to be implemented.

  • Risk of the Bottom-Up approach:

We could get stuck at the low level making things working and never reach the goal. A better method is to consider both approaches and meet somewhere in between.

10

Software Design

To apply both approaches simultaneously, we need to see the system at 3 different levels of abstractions:

  • User level (requests and services)
  • Functional level (modules and functionality)
  • Tasks level (concurrent tasks and resources)

11

User level

A system is seen as a set of services, each providing a response to a given user request. Service 1 Service 2 Service 3

Filtering

12

Functional level

A system is seen as a set of interacting modules, with a precise interface and functionality.

Input Sensing Actuation Control Output Monit.

slide-3
SLIDE 3

3

13

Module Specification

For each module is essential to precisely define:

 Functionality – describe what has to be done  Interface – identify inputs and outputs – describe the interactions with the other modules – Explicitly state the assumptions: (units, ranges, etc.)  Performance requirements – timing constraints (deadline, jitter, throughput) – energy consumption – fault tolerance issues

14

Task level

Once all modules are defined, you have to map them into a set of tasks interacting with shared resources. Note that a module can be split into more tasks or more modules can be merged in a single task.

R1 R2 R3

t1 t2 t3 t4 t5

15

Implementation Stage

  • User interface
  • Layout of the graphical user interface (GUI)
  • Commands interpreter
  • Global Constants (divide them into categories)
  • Global data structures (Shared Resources)
  • Functions (how many, what type, which parameters)
  • Tasks (how many, what type, which constraints)

Even when to reach the implementation stage, there are many things to decide before writing any code:

16

Things to keep in mind

Any program, no matter how well is developed, contains a lot of bugs.

Failure rate time Increase failures due to side effects change

17

How to reduce bugs?

  • Since not all bugs can be detected by testing,

plan to

  • manage faults and exceptions;
  • use assertive checks to catch inconsistencies.
  • Put a lot of effort in the initial design phase.
  • Write the code according to the given style rules.
  • Heavily test your systems to catch existing bugs.

18

Assertive checks

  • When writing a program, it is always good idea to

insert consistency checks at strategic places for detecting violations of basic assumptions.

  • They are very useful to discover various bugs.

Examples

  • finishing time <= absolute deadline
  • actual execution time <= WCETi
  • ((x >= XMIN) && (x <= XMAX))
  • (distance(a,b) >= 0)
  • index i of array[N]: ((i >= 0) && (i < N))
slide-4
SLIDE 4

4

19

Other tips

  • Do not use pointers, unless really necessary

 bugs are very difficult to catch, since a faulty pointer can cause errors in different parts of the program

  • Do not use dynamic memory allocation

 difficult to check memory consumption and identify bugs;  the application can slow down in an uncontrolled manner

  • Incremental development

 Compile very often and check correctness every time you add a few instructions.

  • Keep track of previous working versions

 If you cannot fix a new version, you can always go back and restart from a previous working version.

20

How much time do I need?

D I T M Design Implem. Testing Modif. D I T M D I T M

Design time in not wasted, but invested in the future Well, it depends on your skill, but …

21

A simple example

Let us write a simple Hello World application consisting of a set of periodic concurrent tasks. Each task must simply write a string on the screen printing one character every period.

10 20 30 40

Hello! I am task 0 and my period is 20ms Hello! I am task 1 a Hello! I a

T1 = 20 T2 = 40 T3 = 80

For example

22

Application structure

task i

Hello! I am task 1 Hello! I am Hello!

main

  • Initialize data
  • Manage keyboard:

SPACE activate task ESC exit

  • initialize string
  • get task index

while (!end) { compute coordinates get character to print print character wait_for_period(); }

23

Header files

//----------------------------------------------------- // HELLO.C: SIMPLE DEMO WHERE EACH PERIODIC TASK // DISPLAYS A CHARACTER AT EVERY PERIOD //----------------------------------------------------- #include <stdlib.h> // include standard lib first #include <stdio.h> #include <pthread.h> #include <sched.h> #include <allegro.h> #include "ptask.h" // a lib for periodic tasks

24

Global data

//------------------------------------------------------------- // GLOBAL CONSTANTS //------------------------------------------------------------- #define XWIN 640 // window x resolution #define YWIN 480 // window y resolution #define XBASE 40 // X start for the message #define YBASE 50 // Y level for the first task #define YINC 30 // Y increment for the other tasks #define BKG // background color //------------------------------------------------------------- #define MAXT 10 // max number of tasks #define LEN 80 // max message length #define PER 30 // base period #define PINC 20 // period increment //------------------------------------------------------------- // GLOBAL VARIABLES //------------------------------------------------------------- int end = 0; // end flag char mes[MAXT][LEN+1]; // buf for MAXT mes of length LEN

slide-5
SLIDE 5

5

25

Init function

void init(void) { char s[LEN]; allegro_init(); set_gfx_mode(GFX_AUTODETECT_WINDOWED, XWIN, YWIN, 0, 0); clear_to_color(screen, BKG); install_keyboard(); ptask_init(SCHED_FIFO); sprintf(s, "Press SPACE to create a task"); textout_ex(screen, font, s, 10, 10, 14, BKG); }

26

int main(void) { int i; char scan; init(); do { scan = 0; if (keypressed()) scan = readkey() >> 8; if (scan == KEY_SPACE && i < MAXT) { task_create(i, hello, PER+i*PINC, PER+i*PINC, 50, ACT); i++; } } while (scan != KEY_ESC); end = 1; for (i=0; i<=MAXT; i++) wait_for_task_end(i); allegro_exit(); return 0; }

Main task

27

void* hello(void* arg) { int i, k = 0; // task and character index int x, y; char buf[2]; // temp buffer for 1 character string i = task_argument(arg); sprintf(mes[i], "I'M TASK %d, T = %d", i, task_period(i)); while (!end) { x = XBASE + k*8; y = YBASE + i*YINC; sprintf(buf, "%c", mes[i][k]); textout_ex(screen, font, buf, x, y, 2+i, BKG); k = k + 1; if (mes[i][k] == '\0') { k = 0; textout_ex(screen, font, mes[i], XBASE, y, BKG, BKG); } wait_for_period(i); } }

Hello task