SLIDE 1
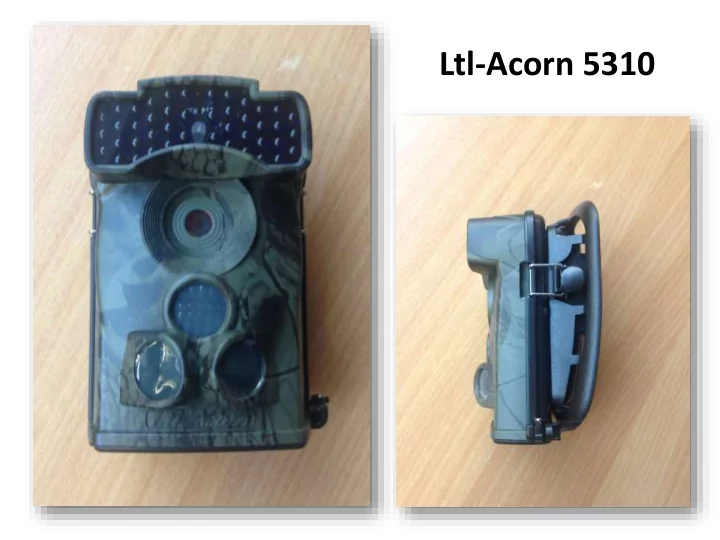
Ltl-Acorn 5310
SLIDE 2 Three options for deploying cameras: On school grounds In the local area
- Ask permission from land owner
- Security
Pupils gardens
parents
- Information passed
- n to parents
SLIDE 3
Avoid Humans
SLIDE 4
Beware of plant growth
SLIDE 5
Attach the camera to something sturdy Choose the height carefully
SLIDE 6
Check for signs and trails
SLIDE 7
Be careful of pointing towards sunset/sunrise
SLIDE 8
Memory card empty Secure and fastened Check and record date and time (deployment and collection) Make sure it’s on Leave it out for a week at least
SLIDE 9
ww www.Mamm w.MammalWeb.org alWeb.org
SLIDE 10
ww www.Mamm w.MammalWeb.org alWeb.org
SLIDE 11
ww www.Mamm w.MammalWeb.org alWeb.org
Check photos before you upload! Part of scientific study (random)
SLIDE 12
SLIDE 13
ww www. w.Mamm mmalWeb alWeb.org .org
SLIDE 14
SLIDE 15 Life Cycle Habitat Seasons Nocturnal/Diurnal Adaptations Carnivore/Herbivore/Omnivore Grouping
SLIDE 16 Extra opportunities
CPD Sessions for teachers Workshops Impact study
Questionnaires
Please email: samantha.s.mason@durham.ac.uk OR info@mammalweb.org
SLIDE 17
Setting up your camera trap
SLIDE 18
Undo side clips to open camera trap
SLIDE 19 ‘On’, ‘Off’, ‘Test’ switch SD Card Battery compartment Turn catch to
SLIDE 20
Indicates ‘camera’ or ‘video’ mode Battery remaining Press menu to change settings
SLIDE 21
Set to ‘camera’ mode to take images Use ‘Set clock’ to enter correct time and date
SLIDE 22
Use arrows to change time and date shown (Beware of American date format!) Remember to set it to GMT/UTC all year round
SLIDE 23
Photo No. should be set to 3 Interval should be set to 1 Min
SLIDE 24
Exit settings by pressing ‘Menu’ Test your camera by pressing ‘shot’ to take a photo View your photo by pressing ‘OK/Replay’
SLIDE 25
Delete your photo by pressing ‘Menu’ then ‘OK’ When you are done slide the switch at the bottom back to ‘Off’ until you are ready to deploy your camera in the field!
SLIDE 26
ww www. w.MammalWe alWeb.org .org