SLIDE 1
Introduction to Microvolumetrics Other Pipettes Why Micropipettes? - - PowerPoint PPT Presentation
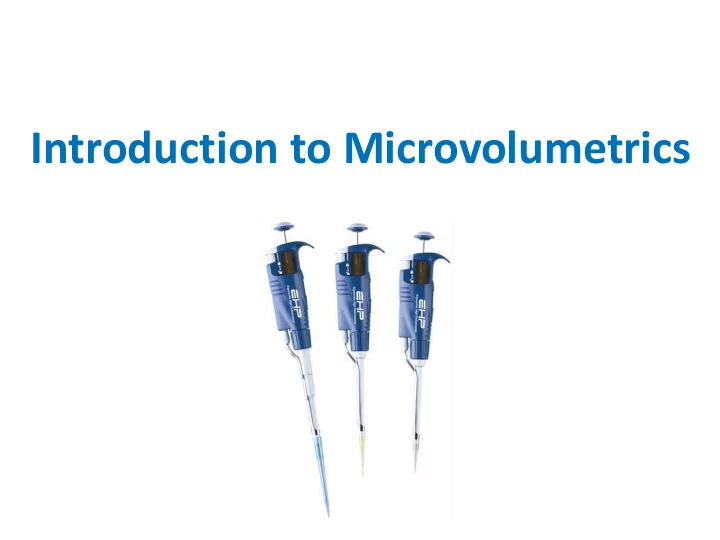
Introduction to Microvolumetrics Other Pipettes Why Micropipettes? Micropipettes measure in microliters (L) 1000 L in 1 mL Why are such small volumes used in molecular biology? Micropipette Size and Volume Range p20 Volume
SLIDE 2
SLIDE 3
Why Micropipettes?
- Micropipettes measure in microliters (µL)
- 1000 µL in 1 mL
Why are such small volumes used in molecular biology?
SLIDE 4
Micropipette Size and Volume Range
- p20 – Volume range is 2-20 µLs
- p200 – Volume range is 20-200 µLs
- P1000 – Volume range is 100-1000 µLs
Never exceed the upper or lower limits of these pipettes! If you need to dispense 20 µLs of a dye, which micropipette should you use?
SLIDE 5
Micropipettes
SLIDE 6
Parts of the Micropipette
SLIDE 7
The “Stops” of a Micropipette
SLIDE 8
Pipetting Techniques
- Always hold the
micropipette and tube at eye level when loading or dispensing samples
- Do not place the tip
at the bottom of the tube
SLIDE 9
Micropipetting “Nevers”
- Never use micropipette without a
tip
- Never lay micropipette down with
sample in the tip
- Never point the micropipette up
- Never let the plunger button snap
back
- Never set the pipette below or
above its intended range
SLIDE 10
Reading a p20 Micropipette
SLIDE 11
Reading a p200 Micropipette
SLIDE 12
Lab 2: Measuring Very Small Volumes
SLIDE 13
Lab Objectives
- Become familiar with the small volumes of
solutions used in molecular biology
- Introduce proper use of the micropipette
- Practice using the micropipette
Notebook
SLIDE 14
Micropipette Technique
- 1. Always hold the micropipette in the vertical
position.
- 2. Gently twist the dial to desired volume.
- 3. Add disposable pipette tip.
- 4. Slowly press the plunger to first stop.
- 5. Place the tip into the liquid and slowly release the
plunger to retrieve liquid.
- 6. To dispense liquid, press plunger past first stop to
second stop.
- 7. Hold the plunger down as you remove the pipette.
- 8. Slowly release the plunger and eject the tip.
Notebook
SLIDE 15
Practicing with a p20 Micropipette
Notebook
SLIDE 16
Checking for Accuracy (Centrifuge)
SLIDE 17
Assessment
Notebook
- Respond to assessment questions #1-5 in your
lab notebook
- Complete the micropipette windows
SLIDE 18
Micropipetting Secret Code Matrix
Notebook
SLIDE 19
Notebook