
SLIDE 1
How to Make a Poster for a Psychology Presentation
Making a poster for the first time is difficult and a little counterintuitive if you are used to using Microsoft Office programs to prepare classwork. Typically, fonts and images can be contextualized by internal content on a document. You are used to judging the size of fonts and images on an 8.5 x 11 sheet of paper. Making a poster requires you to visualize the text on a greater scale.
- 1. Microsoft Powerpoint
One of the most frequently recommend programs for making posters is Microsoft Powerpoint. Keynote works just as well and Photoshop can definitely be used to make a poster, but Powerpoint tends to be the most readily available program and Photoshop can be confusing if you are not used to its options and functions. For these reasons, this guide will use Microsoft Powerpoint.
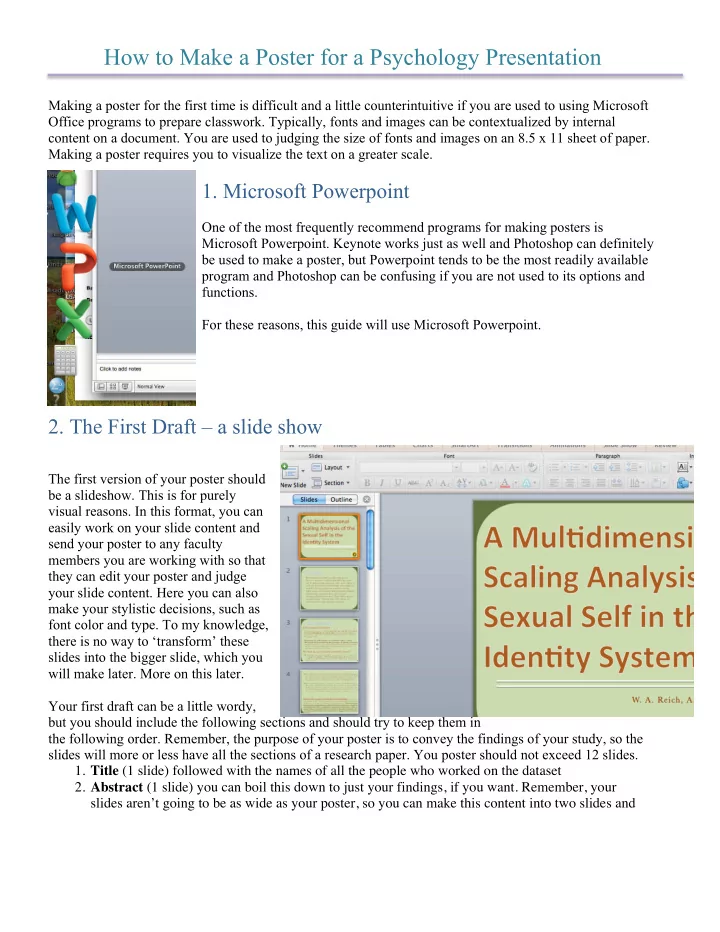
- 2. The First Draft – a slide show
The first version of your poster should be a slideshow. This is for purely visual reasons. In this format, you can easily work on your slide content and send your poster to any faculty members you are working with so that they can edit your poster and judge your slide content. Here you can also make your stylistic decisions, such as font color and type. To my knowledge, there is no way to ‘transform’ these slides into the bigger slide, which you will make later. More on this later. Your first draft can be a little wordy, but you should include the following sections and should try to keep them in the following order. Remember, the purpose of your poster is to convey the findings of your study, so the slides will more or less have all the sections of a research paper. You poster should not exceed 12 slides.
- 1. Title (1 slide) followed with the names of all the people who worked on the dataset
- 2. Abstract (1 slide) you can boil this down to just your findings, if you want. Remember, your