
SLIDE 1
2011.02.16 1
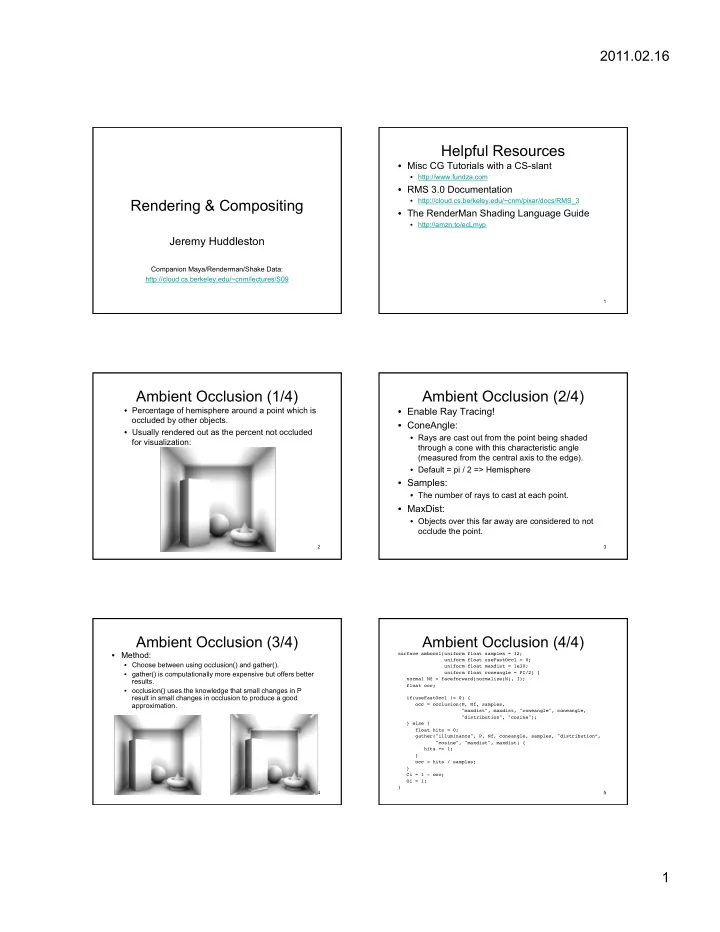
Rendering & Compositing
Jeremy Huddleston
Companion Maya/Renderman/Shake Data: http://cloud.cs.berkeley.edu/~cnm/lectures/S09
1
Helpful Resources
- Misc CG Tutorials with a CS-slant
- http://www.fundza.com
- RMS 3.0 Documentation
- http://cloud.cs.berkeley.edu/~cnm/pixar/docs/RMS_3
- The RenderMan Shading Language Guide
- http://amzn.to/ecLmyp
2
Ambient Occlusion (1/4)
- Percentage of hemisphere around a point which is
- ccluded by other objects.
- Usually rendered out as the percent not occluded
for visualization:
3
Ambient Occlusion (2/4)
- Enable Ray Tracing!
- ConeAngle:
- Rays are cast out from the point being shaded
through a cone with this characteristic angle (measured from the central axis to the edge).
- Default = pi / 2 => Hemisphere
- Samples:
- The number of rays to cast at each point.
- MaxDist:
- Objects over this far away are considered to not
- cclude the point.
4
Ambient Occlusion (3/4)
- Method:
- Choose between using occlusion() and gather().
- gather() is computationally more expensive but offers better
results.
- occlusion() uses the knowledge that small changes in P
result in small changes in occlusion to produce a good approximation.
5
Ambient Occlusion (4/4)
surface amboccl(uniform float samples = 32; uniform float useFastOccl = 0; uniform float maxdist = 1e30; uniform float coneangle = PI/2) { normal Nf = faceforward(normalize(N), I); float occ;
- if(useFastOccl != 0) {
- cc = occlusion(P, Nf, samples,
"maxdist", maxdist, "coneangle", coneangle, "distribution", "cosine"); } else { float hits = 0; gather("illuminance", P, Nf, coneangle, samples, "distribution”, "cosine", "maxdist", maxdist) { hits += 1; }
- cc = hits / samples;
} Ci = 1 - occ; Oi = 1; }