
SLIDE 1
OpenGL and Window s
Windows Forms Programming Roger Crawfis
Creating a nice GUI
- The next several slides will walk you thru a
particular design that I like for my applications.
- The order can be a little finicky, so if you
mess up, delete all files and start over!!!
- The design consists of a GUI panel on the
left and a view panel on the right, with a status bar and a main menu.
Note: VS 2003 show n
- The following slides and images are old,
create a new project using 2005.
- Also, note there is a new SplitContainer
that works better for this style of GUI.
– Use it rather than the Panel/Splitter/Panel approach.
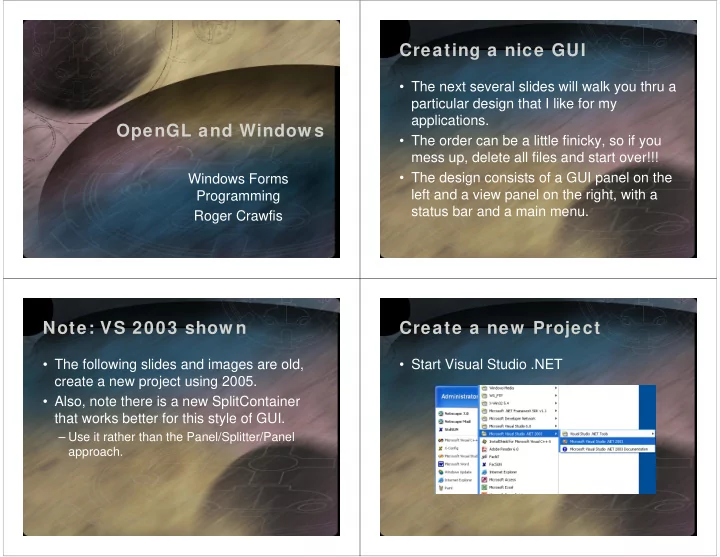
Create a new Project
- Start Visual Studio .NET