
SLIDE 1
Communicating with Others
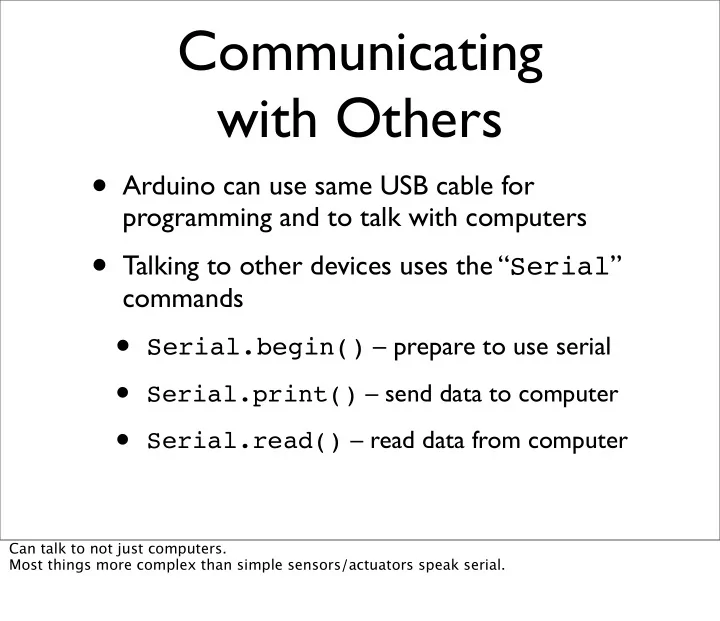
- Arduino can use same USB cable for
programming and to talk with computers
- Talking to other devices uses the “Serial”
commands
- Serial.begin() – prepare to use serial
- Serial.print() – send data to computer
- Serial.read() – read data from computer
Can talk to not just computers. Most things more complex than simple sensors/actuators speak serial.