
SLIDE 1
1
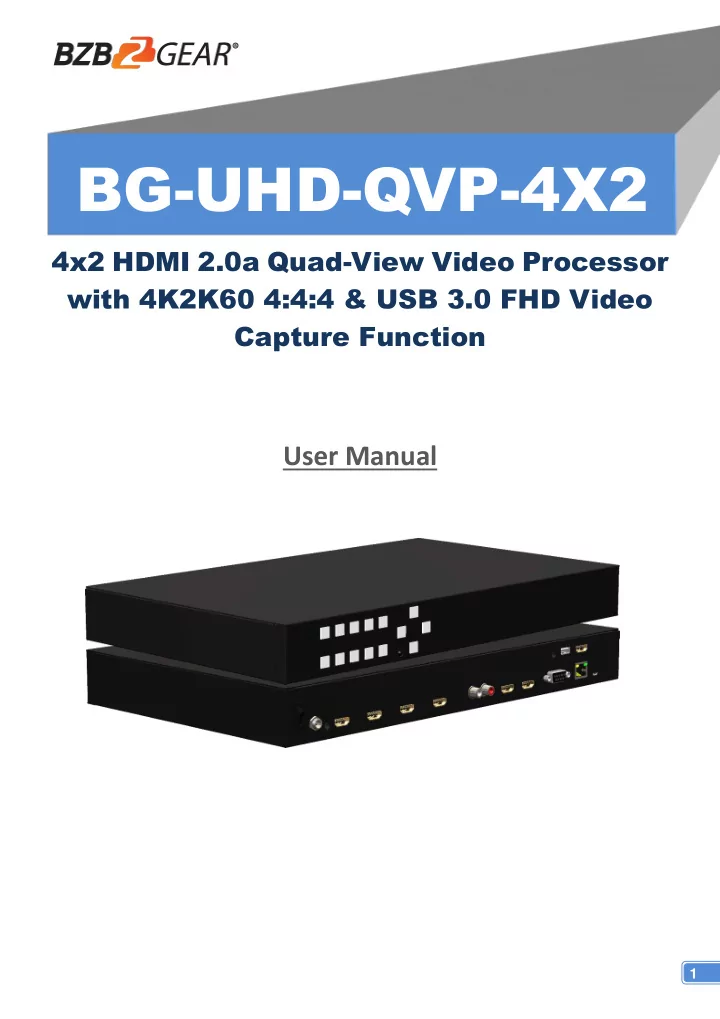
4x2 HDMI 2.0a Quad-View Video Processor with 4K2K60 4:4:4 & USB 3.0 FHD Video Capture Function
User Manual
BG - UHD - QVP - 4X2 4x2 HDMI 2.0a Quad - View Video Processor with - - PDF document
BG - UHD - QVP - 4X2 4x2 HDMI 2.0a Quad - View Video Processor with 4K2K60 4:4:4 & USB 3.0 FHD Video Capture Function User Manual 1 Safety and Notice The BG-UHD-QVP-4X2 4x2 HDMI 2.0a Quad-View Video Processor with 4K2K60 4:4:4 & USB 3.0
1
4x2 HDMI 2.0a Quad-View Video Processor with 4K2K60 4:4:4 & USB 3.0 FHD Video Capture Function
User Manual
Safety and Notice
The BG-UHD-QVP-4X2 4x2 HDMI 2.0a Quad-View Video Processor with 4K2K60 4:4:4 & USB 3.0 FHD Video Capture Function has been tested for conformance to safety regulations and requirements, and has been certified for international use. However, like all electronic equipment, the BG-UHD-QVP-4X2 should be used with care. Please read and follow the safety instructions to protect yourself from possible injury and to minimize the risk of damage to the unit.
stable surface.
before cleaning.
TABLE OF CONTENTS
INTRODUCTION..................................................................................................................... 1 FEATURES ............................................................................................................................. 1 PACKAGE CONTENTS .......................................................................................................... 2 SPECIFICATIONS .................................................................................................................. 3 HARDWARE INSTALLATION ................................................................................................ 4 CONNECTION DIAGRAM ...................................................................................................... 4 PANEL DESCRIPTIONS ........................................................................................................ 5 OPERATION APPROACH ..................................................................................................... 6 USB PIN DEFINITION .......................................................................................................... 21 WARRANTY .......................................................................................................................... 22 SECOND YEAR ASSURANCE………..………..………..………..………..………………..23 MISSION STATEMENT………..………..………..………..………..………..………..……..23
1
INTRODUCTION
The BG-UHD-QVP-4X2 4x2 HDMI 2.0a Quad-View Video Processor with 4K2K60 4:4:4 & USB 3.0 FHD Video Capture Function provides the most flexible and cost effective solution in the market to route ultra-high definition video source from any of the four UHD HDMI sources to the remote display at the same time. Using powerful built-in USB 3.0 capture & auto scale down features, users can broadcast up to 1080p video & 2ch audio thru real-time on line software, such as skype. This unique function makes this 4K video processor perfectly work as a live switch for either educational or multiple commercial applications. This solution is also well suited for use in digital signage, conference room presentation systems or other similar settings or applications. With up to 4K2K60 4:4:4 output resolution, users can display the mixed video with improved presentation quality. In the meantime, the unit can be controlled thru the popular serial port and Ethernet port to provide the most flexible control way to fit into any applications.
FEATURES
⚫ 4x HDMI inputs and 2x HDMI outputs ⚫ Input resolutions support from 640x480 to 4096x2160@60Hz (4:4:4 8bits), interlaced or progressive ⚫ Output resolutions support up to 4K2K@60Hz (4:4:4 8bits) ⚫ Adjustable size & position through software and Cloud ⚫ Supports PIP, PBP, POP, full screen & quad-view display ⚫ HDCP 1.4/2.2 compliant ⚫ Firmware upgradable to support of new features and technology enhancements ⚫ Titles, borders and colored backgrounds ⚫ Supports Background picture & logo update ⚫ Resize, position, zoom & pan and blend output video ⚫ Supports seamless, fade-in-&-out, wipe and dissolve switching on full screen mode ⚫ Perfect as a video converter and a live video switcher ⚫ Pure unaltered uncompressed 7.1ch digital HDMI ⚫ Software control through RS-232 and Ethernet ⚫ Supports IR remote and front panel control ⚫ Supports Cloud Control* ⚫ Supports USB 3.0 FHD Video Capture
2
PACKAGE CONTENTS
⚫ 1x BG-UHD-QVP-4X2 ⚫ 1x DC 12V 5A ⚫ 1x Installation software CD ⚫ 1x User Manual ⚫ 1x IR Remote control (28 keys) ⚫ 1x IR Receiving cable ⚫ 1x USB 3.0 A to A Cable (host to device)
*Cloud support is thru an encrypted communication to provide the best private protection when using BG-UHD-QVP-4X2
3
SPECIFICATIONS
Model Name BG-UHD-QVP-4X2 Technical Role of usage Multiplexer / video processor Background picture update Yes HDCP compliance 1.4 / 2.2 HDMI compliance HDMI 2.0a Video bandwidth HDMI [600MHz [18Gbps] Output Video Support Up to 4K2K@60 (4:4:4 8bits) Video support(USB) Up to 1080p60 Input Video Support Up to 4K2K@60 (4:4:4 8bits) Video Format Support HDMI 2.0 Audio support Bypass Control RS-232/ Ethernet/ IR/ Front panel Control/ Cloud Embedded video mixer Yes Input TMDS signal 1.2 Volts [peak to peak] Recording Mode Software Compression Recording Video Format YUY2 (USB3.0), MJPG (USB2.0/3.0) ESD protection Human body model — ±15kV [air-gap discharge] & ±8kV [contact discharge] Input 4x HDMI + 1xRS-232 + 1x RJ-45(Ethernet) + 1x 3.5mm (IR) Output 3x HDMI + 1x USB + 2x RCA + 1x 3.5mm HDMI connector Type A [19-pin female] USB connector USB 3.0 Type A (SuperSpeed USB) RS-232 connector DE-9 [9-pin D-sub female] RJ-45 connector WE/SS 8P8C Software compatibility (not complete list)(Video Capture Function) OBS Studio (Windows, Linux), AMCap (Windows), Potplayer (Windows)¸ VLC (OS X, Linux), XSplit Broadcast (Windows), Skype (Windows, OS X), Zoom (Windows), Hangout (Windows), TeamViewer (Windows) OS Support (Video Capture Function) Windows 7 /8.1 /10, Mac and Linux OS Mechanical Housing Metal enclosure Dimensions (L x W x H) Model 390 x 248 x 44mm [1'3" x 9.8" x 1.7"] Package 526 x 318 x 156mm [1'7" x 12.5" x 6.1"] Carton 543 x 335 x 344mm [1'8" x 13.2" x 1'1"] Weight Model 2.2 kg [5 lbs] Package 3.5 kg [7.8 lbs] Power supply 12V 5A DC Power Consumption 22 Watts [max] Operation temperature 0~40°C [32~104°F] Storage temperature
4
Relative humidity 20~90% RH [no condensation]
HARDWARE INSTALLATION
BG-UHD-QVP-4X2 as master
CONNECTION DIAGRAM
5
PANEL DESCRIPTIONS
BG-UHD-QVP-4X2
Front Panel
A)
Rear Panel
6
OPERATION APPROACH
Method A: IR Remote Control
Button Function POWER Power on/off the device LOCK Lock/unlock the device ▲ Arrow button (up) MENU OSD menu AUDIO Select audio sources Arrow button (right) OK Trigger the setting Arrow button (left) MUTE Turn off the audio BACK Back to previous page of OSD menu ▼ Arrow button (down) EXIT Exit from the menus F1 Reserved 720P Switch output resolution to 720p 60Hz 1080P Switch output resolution to 1080p 60Hz 4K2K Switch output resolution to 4K2K 60Hz QUAD Fast switch to quad-view mode FULL Fast switch to full screen mode Background To set up the background picture of window LABEL Window label ON/OFF D Select source D to be the input source C Select source C to be the input source B Select source B to be the input source A Select source A to be the input source P4 User preset 4 P3 User preset 3 P2 User preset 2 P1 User preset 1 ▲ ▲
7
Method B: Software Control through RS-232 / Ethernet port
(1) OS information: MS Win XP/7/8/10 (2) Baud rates: 115200 (3) Software size: 10 MB (4) Minimum RAM requirement: 256MB
When clicking on the executable file, the following dialog will pop-up (under Microsoft Windows 7, please run as administrator) RS-232 serial Mode: Use RS-232 to connect the port on device and computer. Select correct COM port and click the OK button. Ethernet Mode: Enter the IP address of the device and click the OK button. After the software control setting is accomplished, it will enter directly to control interface.
8
Control Interface
Show the connect information and status. If users use RS-232 serial Mode to connect device, the graph is . In contrast, the graph of Ethernet is . In addition, if users would link to change the control method, uses can click on the button to change. 1 2 3 4 5 6 7 8
9
In this section, users can set up the coordinate for inputs, the source of window A~D, output resolution, layout setting (PAP or full screen) and switch mode. (1) Source Selection For each display window, you can assign arbitrary video source here. (2) Quick Selection We provide 9 default modes, 8 custom modes and 4 switching effects (Seamless, Fade in/out, Dissolve, Wipe) for user to select.
10 (3) Output Resolution Set the output resolution. (4) Save Layout We provide 8 custom layout space for users to save the frequently used scenarios into the flash memory.
11 (5) Display Panel In the left part of control interface, user can customize the display mode thru control. The different colors of frame represent the different input windows. The information of coordinate shows the position of input source screen. In addition, we provide display ratio for users to set the display panel sizes. If you want to change window layer, please drag window icon in Layer Control section.
12
(1) Label Text In here, users can input the texts to be shown with the video. (2) Sound To set up the audio source of the output and R/L channels.
13 (3) Window Label In this function, users can determine if the window’s label/border is turned on or off. (4) Background To set up the background of window. We provide 4 empty space for user to upload background pictures. User can click File button to load the picture which you want to use and click Start button to write this picture into the device. (5) Cloud Setting ➢ Register mode To get an “association code”. The device can use this code to pair with cloud server. ➢ Cloud mode To reset cloud after a successful pairing ➢ MAC Read the device’s MAC address information.
14
(1) Learn EDID from Default ➢ Select Default EDID ➢ Select Input ➢ Click button to learn default EDID.
15
(1) Firmware Update ➢ Click button to do firmware update. ➢ The “Firmware update” window shows up as below. ➢ Please select the correct COM port or click “Scan” button to connect device.
16 ➢ Click “update” button to do firmware update. (2) Factory Reset ➢ Click button to do factory default reset. ➢ The process of default reset will take about 25 seconds.
17
User also can use the WEB to control the mixer. Firstly, user should click on the button to setup network set. Next, users can setup the Ethernet for the unit as below example
The default IP: 192.168.1.46
Read the Software and firmware version.
*Software/firmware information subject to change without notification.
This function can get all information of the device and update this software state.
18
Method C: Cloud Control (Eagleyes) through Ethernet Port
Create Account The first time to use the Eagleyes service, please create a new account.
create your private account.
19 Add Device to Eagleyes
software with device to get the register code (Note: the status of software is connected).
with your device.
20
21
USB PIN DEFINITION
P1 P2
VBUS
1 1
D-
2 2
D+
3 3
GND
4 4
SSRX-
5 5
SSRX+
6 6
GND
7 7
SSTX-
8 8
SSRX+
9 9
Shield
SHELL SHELL
22
WARRANTY
The SELLER warrants the BG-UHD-QVP-4X2 4x2 HDMI 2.0a Quad-View Video Processor with 4K2K60 4:4:4 & USB 3.0 FHD Video Capture Function free from defects in the material and workmanship for 1 year from the date of purchase from the SELLER or an authorized dealer. Should this product fail to be in good working order within 1-year warranty period, The SELLER, at its option, repair or replace the unit, provided that the unit has not been subjected to accident, disaster, abuse or any unauthorized modifications including static discharge and power surge. This warranty is offered by the SELLER for its BUYER with direct transaction only. This warranty is void if the warranty seal on the metal housing is broken. Unit that fails under conditions other than those covered will be repaired at the current price of parts and labor in effect at the time of repair. Such repairs are warranted for 90 days from the day of reshipment to the BUYER. If the unit is delivered by mail, customers agree to insure the unit or assume the risk of loss
number. The warranty is in lieu of all other warranties expressed or implied, including without limitations, any
disclaimed. Proof of sale may be required in order to claim warranty. Customers outside Taiwan are responsible for shipping charges to and from the SELLER. Cables and power adapters are limited to a 30 day warranty and must be free from any markings, scratches, and neatly coiled. The content of this manual has been carefully checked and is believed to be accurate. However, The SELLER assumes no responsibility for any inaccuracies that may be contained in this manual. The SELLER will NOT be liable for direct, indirect, incidental, special, or consequential damages resulting from any defect or omission in this manual, even if advised of the possibility of such damages. Also, the technical information contained herein regarding the BG-UHD-QVP-4X2 features and specifications is subject to change without further notice.
23
SECOND YEAR ASSURANCE
BZB Gear wants to assure you peace of mind. We're so confident in the quality of our products that along with the manufacturer's one-year limited warranty, we are offering free second-year warranty coverage upon registration*. Taking advantage of this program is simple, just follow the steps below:
serial number and a copy of your sales receipt. For questions, please call 1.888.660.2962 or email support@bzbgear.com. For complete warranty information, please visit BZBGear.com/warranty or scan the QR code below. *Terms and conditions apply. Registration is required.
MISSION STATEMENT
BZB Gear manifests from the competitive nature of the audiovisual industry to innovate while keeping the customer in mind. AV solutions can cost a pretty penny, and new technology only adds to it. We believe everyone deserves to see, hear, and feel the advancements made in today’s AV world without having to break the bank. BZB Gear is the solution for small to medium-sized applications requiring the latest professional products in AV. We live in a DIY era where resources are abundant on the internet. With that in mind, our team
quality of the products is on par with the top brands in the industry. The unparalleled support from
integrator, home theater enthusiast, or a do-it-yourselfer, BZB Gear offers the solutions to allow you to focus on your project and not your budget.