
SLIDE 1
Working with the RedPi Board
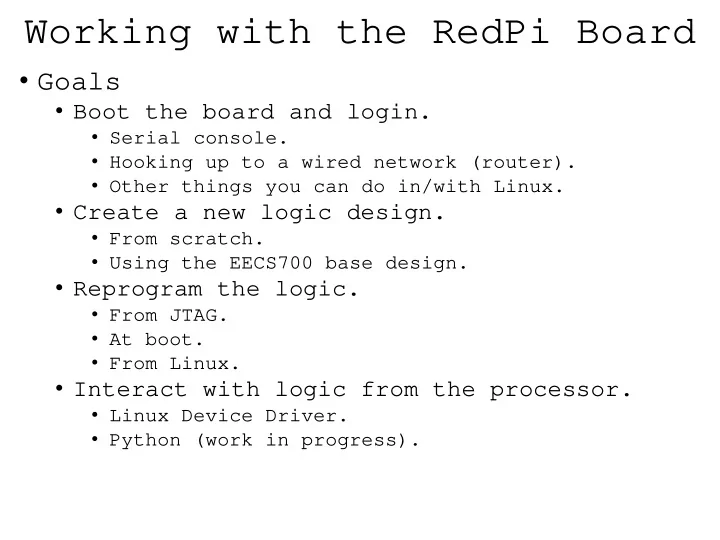
- Goals
- Boot the board and login.
- Serial console.
- Hooking up to a wired network (router).
- Other things you can do in/with Linux.
- Create a new logic design.
- From scratch.
- Using the EECS700 base design.
- Reprogram the logic.
- From JTAG.
- At boot.
- From Linux.
- Interact with logic from the processor.
- Linux Device Driver.
- Python (work in progress).