
SLIDE 1
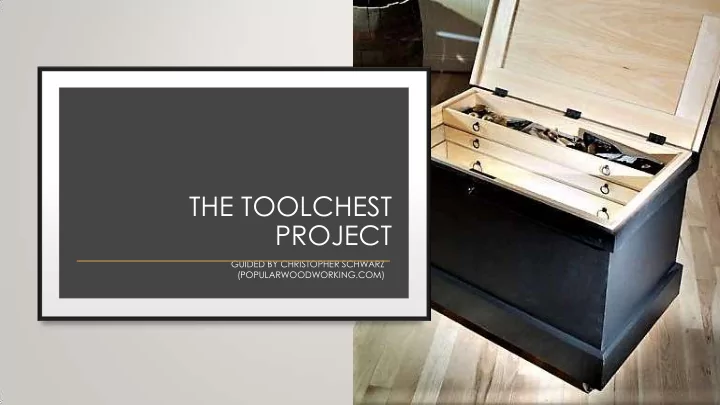
THE TOOLCHEST PROJECT
GUIDED BY CHRISTOPHER SCHWARZ (POPULARWOODWORKING.COM)
THE TOOLCHEST PROJECT GUIDED BY CHRISTOPHER SCHWARZ - - PowerPoint PPT Presentation
THE TOOLCHEST PROJECT GUIDED BY CHRISTOPHER SCHWARZ (POPULARWOODWORKING.COM) GROUP COMPOSITION Initially four members expressed interest, but when we started with the first meeting, only two could make it. Eventually only Anzette
GUIDED BY CHRISTOPHER SCHWARZ (POPULARWOODWORKING.COM)
The project takes one through mastering a number of skills/techniques, such as:
panels
cut across grain
packets” and plugging them
challenges she faced.
problems, most prominent being:
Oregon pine
resin wells inside some Oregon planks that cracked open during/after planning
cracked when already fitted and rails & styles already glued.
SOLUTION: MAKE A SURFACE TO CLAMP!
1. As Long as Your Tool Plus Some 2. Tall Enough to Make a Human Tripod 3. A Depth to Match Your Reach 4. Reduce the Weight; Increase the Joinery 5. Make a Thick Shell 6. The Bottom Should Be Nailed 7. Skirts, Dust Seals & Miters 8. Don’t Blow it on the Lid 9. Divide the Bottom Layer 10. Trays 11. Sticking Stuff to the Lid & Walls 12. Paint the Outside