SLIDE 2 Step 1: Remove Tire Side Walls
- a. Using a reciprocating saw, puncture the sidewall and then cut up the sidewall to
a point about 1.5 inch from the tread. Don’t attempt to cut through the bead.
- b. Holding the saw blade at a 45 degree angle toward the inside of the tread, cut
along the tread to remove the side wall.
- c. Repeat the procedure to remove the other side wall.
- d. Repeat steps a – c to remove the side walls on the second tire.
Step 2: Cut to Length
- a. Using a metal-cutting band saw, cut through each tread so they lie fmat.
- b. Measure the wing plow and then cut both treads to one inch longer.
Step 3: Determine Locations for Mounting Holes
- a. Lay one tread on a piece of sacrifjcial wood with the tread side down.
- b. Place the worn out cutting edge on top of the tread so the holes are in the center,
which will leave about 3.5 inches of exposed rubber. Clamp the cutting edge and tread tightly in place. Step 4: Drill Mounting Holes
- a. With a 1/2 inch drill bit, drill through the tread using the holes on the worn out
cutting edge as a template.
- b. Enlarge each hole using the 5/8 inch drill bit.
- c. Repeat Steps 3 and 4 to drill holes in the second tire tread.
Step 5: Mount on Plow
- a. Insert a 5/8 x 6 inch grade 8 steel bolt into the mounting holes on each end of
the old cutting edge, and then insert one in the middle.
- b. Lay the old cutting edge on your workbench with the bolts sticking up, and then
work the drilled tire treads onto the bolts. Place the fjrst one with the tire tread facing down, and the other with the tread facing up.
- c. Attach the cutting edge assembly to the plow, and then thread nuts onto the
- bolts. Use an impact wrench to tighten the nuts.
- d. Insert bolts into the remaining holes, thread a nut onto each, and then tighten
all the nuts with an impact wrench. ~ 3.5 in. What You’ll Need
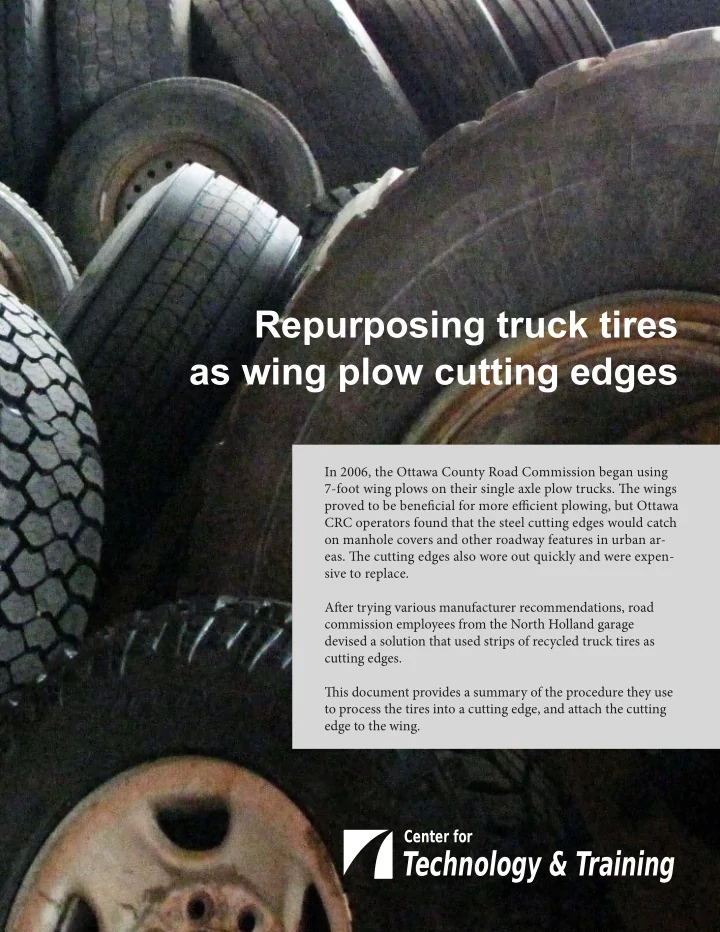
- Two used truck tires
- Worn steel wing plow cutting edge
- Several 5/8 x 6 inch grade 8 steel bolts and nuts
- Reciprocating saw with several bi-metal coarse
blades (expect to use one blade per tire)
- Metal cutting band saw
- Heavy duty drill with 1/2 inch and 5/8 inch high
speed steel drill bits
- 2 large C-clamps
- Large, fmat work area with a sacrifjcial wood work
surface (3/4 inch plywood on sawhorses works well) Safety First! To complete the procedure below you will have to work with power tools in a shop environment. Before you begin, make sure you’re wearing appropriate personal protective equipment including safety glasses, hearing protection, heavy duty work gloves, and steel-toe boots. For more information, please send an email to Randy Nagelkirk, Ottawa County Road Commission superivisor of equipment: rnagelkirk@ottawacorc.com.
5 4 3 2 1