presentation plan 6 8 hour training
play

Presentation Plan: 6-8 hour training Inclusive classrooms aim to - PDF document

Interactive Instructional Tools for Inclusive Classrooms 1/8 Presentation Plan: 6-8 hour training Inclusive classrooms aim to serve the needs of all students, regardless of background, identity, or academic skillset. These intentional


  1. Interactive Instructional Tools for Inclusive Classrooms 1/8 Presentation Plan: 6-8 hour training  Inclusive classrooms aim to serve the needs of all students, regardless of background, identity, or academic skillset. These intentional learning environments leverage fmexible content delivery, provide targeted instruction, and encourage student refmection and ownership. A tool such as OneNote Class Notebook amplies teachers’ current efgorts to meet diverse needs within inclusive classrooms. Engage Essential Questions 2 minutes • How can instruction be supported by an online notebook in an inclusive classroom? • What are the benefjts of using an interactive and paperless notebook in your classroom? Discuss 5 minutes • 
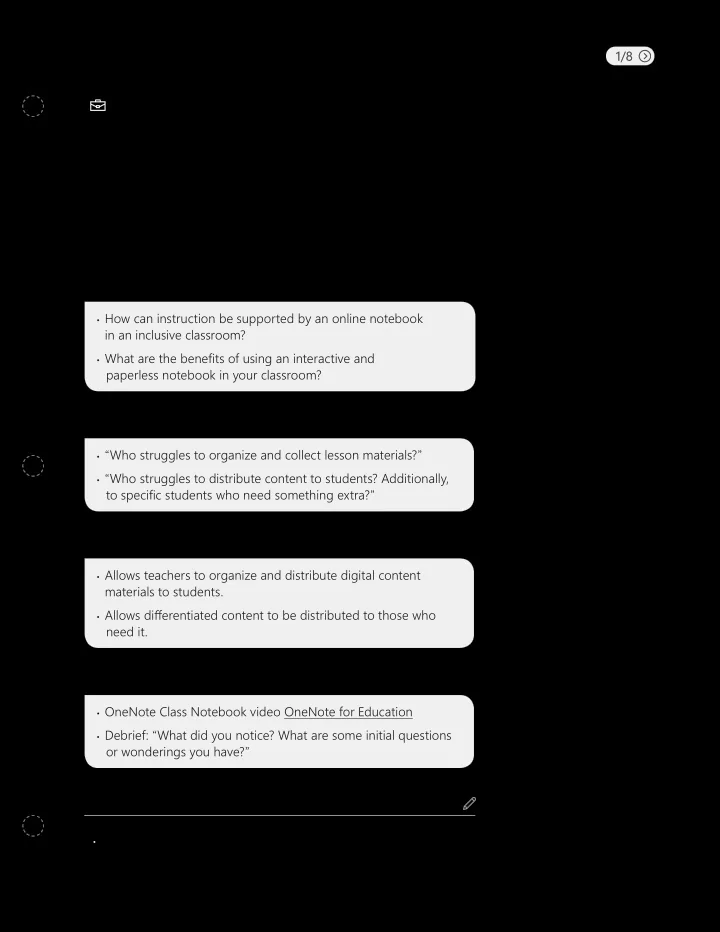
“Who struggles to organize and collect lesson materials?” • “Who struggles to distribute content to students? Additionally, to specifjc students who need something extra?” Introduce Class Notebook 3 minutes • Allows teachers to organize and distribute digital content materials to students. • Allows difgerentiated content to be distributed to those who need it. Watch: 10 minutes • OneNote Class Notebook video OneNote for Education • Debrief: “What did you notice? What are some initial questions or wonderings you have?” 

  2. Interactive Instructional Tools for Inclusive Classrooms 2/8 Part 1: Creating a OneNote Class Notebook Participants practice steps for creating a Class Notebook in an independent click-through simulation, then create their own Class Notebook using the creator in Offjce 365. Explain 5 minutes • Point out the features of Class Notebook such as adding additional teachers, adding and removing students, and managing all Class Notebooks. Explore 20 minutes (Circulate and provide assistance as needed) • Have participants work through Setting up a OneNote Notebook click-through guide. Experience 45 minutes Prompt participants to: • Follow the steps of the Class Notebook Creator. This guide appears for teachers when they fjrst log in to their Offjce 365 accounts to create and open a Class Notebook. • Name a notebook and review the difgerence between Content Library, Collaboration Space, and student notebooks. • Add additional teachers to Class Notebook. (You should point out that additional teachers can be added later, after the notebook has been created.) • Add students to Class Notebook. (Students with Offjce 365 accounts will be pre-populated and can be added by typing in student names or student ID numbers. Students who do not have Offjce 365 accounts must be added manually by typing in their email addresses.) 

  3. Interactive Instructional Tools for Inclusive Classrooms 3/8 Experience (Continued) • • Practice creating student notebook sections to organize content. (Note: You should point out that to create the notebook at least one tab must be created.) • Discuss the preview function of Class Notebook Creator. (Note: This section allows teachers to see the difgerence between teacher and student view, as well as how tabs are organized and displayed in each view.) Post-Experience Discussion Questions: • “What kind of notebooks could you create for your current classes?” (Note: If needed, prompt participants to consider how class structure, student groups, and/or fmexible needs could be used to create notebooks.) Part 2: Adding content in Class Notebook Have participants work in the Class Notebook they just created. Explain 20 minutes • Explain how to add sections and pages. • Explain how to add content such as videos, links, and pictures to a page. Explore 45 minutes (Circulate and provide assistance as needed) • Guide and support participants to: · Add a section in Class Notebook to help organize content. · Add a page to a section. · Insert a File Printout. · Insert a video on a page. · Record audio. 

  4. Interactive Instructional Tools for Inclusive Classrooms 4/8 Explore (Continued) • • Help participants use Offjce Lens to scan and send content to Class Notebook. (Note: Teachers can choose between difgerent notebooks and sections when uploading content. They must be signed in to their district accounts to access and send content to their Class Notebooks from Offjce Lens.) • Extra time?: Have participants add a link to a page, add pictures to a page, and add stickers to a page. • Challenge: Have participants embed a Microsoft Form into their Class Notebook. Post-Experience Discussion Questions Post-Experience Discussion Questions • “ What materials could you add to your notebook and how could you organize them for student use?” • “ What types of multi-media resources can you use to support the varying needs of your students?” Part 3: Working in Class Notebook Have participants practice adding content into their Class Notebook. Explain 10 minutes • Easy-to-use features assist teachers in organizing, saving, and distributing content to students. • Introduce Immersive Reader and explain how it can support students’ needs and enable easier access to reading materials. Explore 30 minutes • Have participants complete the click-through guide Getting the most out of OneNote Class Notebook. (Note: Headphones are helpful in this process.) 

  5. Interactive Instructional Tools for Inclusive Classrooms 5/8 Explore (Continued) • The Teacher-Only section allows participants to create and organize content to difgerentiate student learning and presentation of materials in an area that students cannot access. Once the option is turned on, it cannot be turned ofg. • Explore Distribute Section and Page . Teachers can select which section the page is distributed to. (Note: The page will be distributed to all students in that section.) • Explore the Review Student Work option. Note to participants that you will model this feature, but they will not be able to experience it because their students have not worked in the notebook yet. • Explore the features of Immersive Reader: text size and spacing; themes; font; Parts of Speech; voice speed; and Picture Dictionary. 45 minutes Experience (Circulate and provide assistance as needed) • Have participants work in the Class Notebook they created. Post-Experience Discussion Questions: • How can Immersive Reader support the diverse learning needs of your students in your classroom? 

  6. Interactive Instructional Tools for Inclusive Classrooms 6/8 Elaborate Plan 65 minutes • Show participants the Classroom Connections Ideas handout. • Prompt: “Select a lesson you are currently using in your classroom and add content and multi-media to Class Notebook.” • Plan: “Create a plan for implementation.” Evaluate Complete survey 10 minutes • Prompt participants to complete exit ticket Microsoft Forms Congrats!  Surveys using laptop or mobile device. Provide link or allow You successfully participants to access via QR code in Slide Deck. completed the six hour training!!! (Supply list on next page) 

  7. Interactive Instructional Tools for Inclusive Classrooms 7/8 Supplies  Presenter • WiFi access • Laptop or mobile device with access to Microsoft Offjce 365 and login credentials • Power cord for laptop or mobile device • Projection capability • Speaker for external audio • Dongle to connect to projector • Printed copies of Skills Checklist Participant • WiFi access • Laptop or mobile device with access to Microsoft Offjce 365 and login credentials • Current lesson plan and/or plan book (teacher) • Offjce 365 Word document created for student use • Earbuds Suggested classroom device access To implement the above activities, we suggest access to a Congrats! You know,   Windows 10 computer with: You successfully computer stufg. completed the ‹ Processor: 1 gigahertz (GHz) or faster ‹ six hour training!!! ‹ RAM: 1 gigabyte (GB) (32-bit) or 2 GB (64-bit) ‹ ‹ 16 GB of free hard disk space ‹ ‹ Graphics card: Microsoft DirectX 9 graphics device with ‹ WDDM driver ‹ A Microsoft account and internet access ‹  

  8. Interactive Instructional Tools for Inclusive Classrooms 8/8 What you need to get started: Software requirements: ‹ Computer: Windows 10; Offjce 2013 or later; .Net Framework ‹ 4.5.0 or later ‹ Mobile: iOS 10.0 or later; Android 4.3 or later ‹ ‹ Account: O365 for EDU account or a general Microsoft account ‹ 

Download Presentation
Download Policy: The content available on the website is offered to you 'AS IS' for your personal information and use only. It cannot be commercialized, licensed, or distributed on other websites without prior consent from the author. To download a presentation, simply click this link. If you encounter any difficulties during the download process, it's possible that the publisher has removed the file from their server.

Recommend


More recommend