
SLIDE 1
Natural Target Pruning Making Proper Pruning Cuts Natural Target - - PowerPoint PPT Presentation
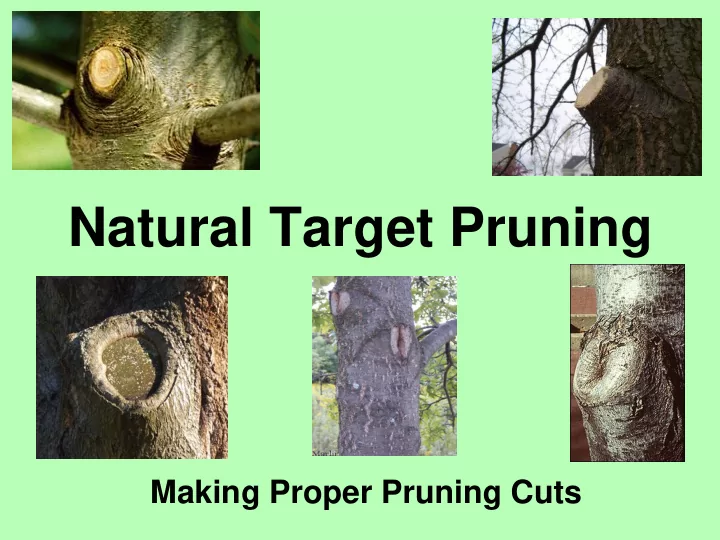
Natural Target Pruning Making Proper Pruning Cuts Natural Target Pruning In this lesson we will learn: What is Natural Target Pruning Where to make Natural Target Pruning Cuts Why is it important to make Natural Target Pruning
as possible without leaving a stub or flush cutting.
Flush Cut Stub Cut Flush Cut Stub Cut
more than others. It is the base of the branch where the natural branch taper begins to flare out as it connects to the limb or trunk.
branch base where branch and trunk (or branch and branch) tissues come together.
closure and self-defense and must be protected and maintained during pruning.
to form a raised ridge on the trunk that separates the branch from the trunk. This raised area is the branch bark ridge.
the tree without leaving a stub.
slants out and down, leaving a bump but no stub (from A to B on the diagram). The cut is made on the outside of the branch collar.
compromized in any way.
are easy to see on most broadleaved trees, some trees like sycamore constantly lose bark and don’t accumulate a branch bark ridge.
accumulate a typical branch bark
any swollen or wrinkled branch collar.
us to find the branch collar and the target cut, but for them there is another rule of thumb generalization developed by Dr. Alex Shigo.
top of the cut is made at the top of the branch bark ridge.
the branch bark ridge straight down to the ground (line A-C). Now determine the angle between this verticle line and the bottom of the branch bark ridge (angle C-B).
verticle line (angle C-D). The natural target cut is made along the line of this reversed angle (line A-D).
D
ridge or branch collar. These cuts leave branch tissue attached to the stem.
stub becomes a pathway for decay organisms to enter the tree trunk and cause serious wood decay.
a large stub is created. In this case, the stub decays, creating health problems for the tree.
the branch collar, causing unnecessary injury to stem tissues.
radial cracks, circumferential cracks, discolored wood and wood decay.
and allow decay organisms to colonize stem tissue. The spread of this decay will eventually end in the demise of the tree.
injured or removed. No cuts should start behind the branch bark ridge.
formed at the base of the branch. Remove the branch beyond the callus ridge so that no living material is severed or detached.
cut:
– 1. The Branch Bark Ridge is retained. – 2. The Branch Collar is intact. – 3. The final cut line correctly aligned.
as guides should ensure the right final cut every time!
thin layer of cells between the wood and bark.
the branch collar function to close off the wound between the plant and the pruning cut.
ridge or branch collar areas.
sometimes called callus, forms at the wound edges (callus forms first and becomes woundwood as it matures and becomes woody).
target cut, eventually sealing over the wound as it grows together.
and/or bottom indicate flush-cuts, cuts that were made too close to the stem.
eventually seal, they have a greater chance for dieback, decay, and crack formation than natural target cuts.
form four types of walls to compartmentalize the area thus preventing the spread of decay organisms.
the walls are stronger than the decay organisms.
compartmentalization of the wounded area as quickly as possible.
vessels following an injury. It is the weakest wall but can slow the vertical spread of decay.
weak barrier but does offer resistance to inward spread of decay.
compartments with a radial wall. It presents a maze of physical obstacles as well as a chemical barrier and provides resistance to lateral spread of decay. Wall 3 is the second strongest of the four walls.
the strongest of all the walls. Internally, it separates the wood present at the time of injury from new wood formed as the tree grows. Externally, callus tissue develops around the injury and should eventually cover it by growing over the dead wood.
rapidly and maintain them so effectively that the amount
walls are weak --- infection can damage a large volume
branches meet turns in instead of out, forming a seam of included bark inside the tree instead of a branch bark ridge. Areas of included bark often die and become decayed.
branch attachments with normal branch bark ridges.
certain species or cultivars, but can be found on any tree. It is more common where branches attach to one another at a very narrow angle, but it can occur with wide attachment angles.
point below where the branches meet.
position often form included bark.
cause serious trunk wounds.
called crown reduction or drop-crotch pruning.
attached if the remaining branch is healthy and vigorous and at least 1/3 the diameter of the leader to be removed (so a 6” leader could be removed at a 2” branch).
is made by bisecting the angle between the branch bark ridge and an imaginary line made perpendicular to the leader or the branch being removed.
bark ridge, with the bottom of the cut straight across from the bottom of the branch bark ridge.
removed from the branch that is being shortened.
reduce its growth enough to allow the other stem to become dominant.
from the trunk to prevent bark stripping.
the undercut will remove most of the branch weight.
removes the stub. Final cuts can be made from the bottom up to the crotch if the branch angle is tight and tools won’t fit in the crotch.
effects caused by pruning wounds.
seal or compartmentalize a wound, they do not heal a wound.
effects of their pruning wounds. This is done by pruning in such a way as to facilitate the closure and compartmentalization of these wounds as quickly as possible by following the principles