
SLIDE 1
- 1
Source: J. Musser, Columbia University
1
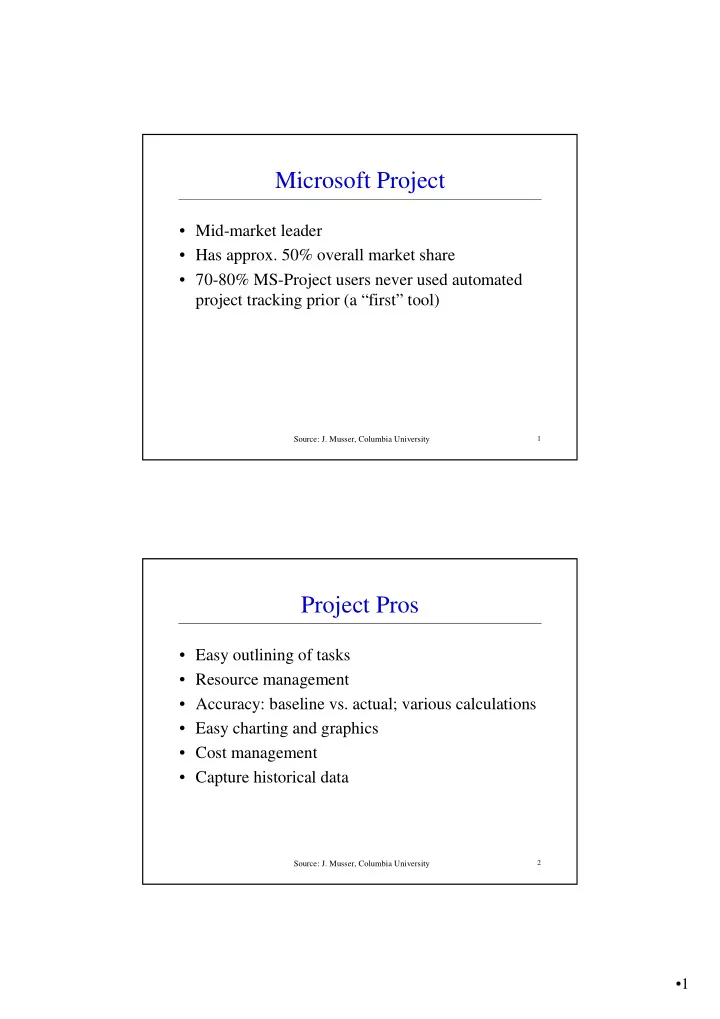
Microsoft Project
- Mid-market leader
- Has approx. 50% overall market share
- 70-80% MS-Project users never used automated
project tracking prior (a “first” tool)
Source: J. Musser, Columbia University
2
Project Pros
- Easy outlining of tasks
- Resource management
- Accuracy: baseline vs. actual; various calculations
- Easy charting and graphics
- Cost management
- Capture historical data