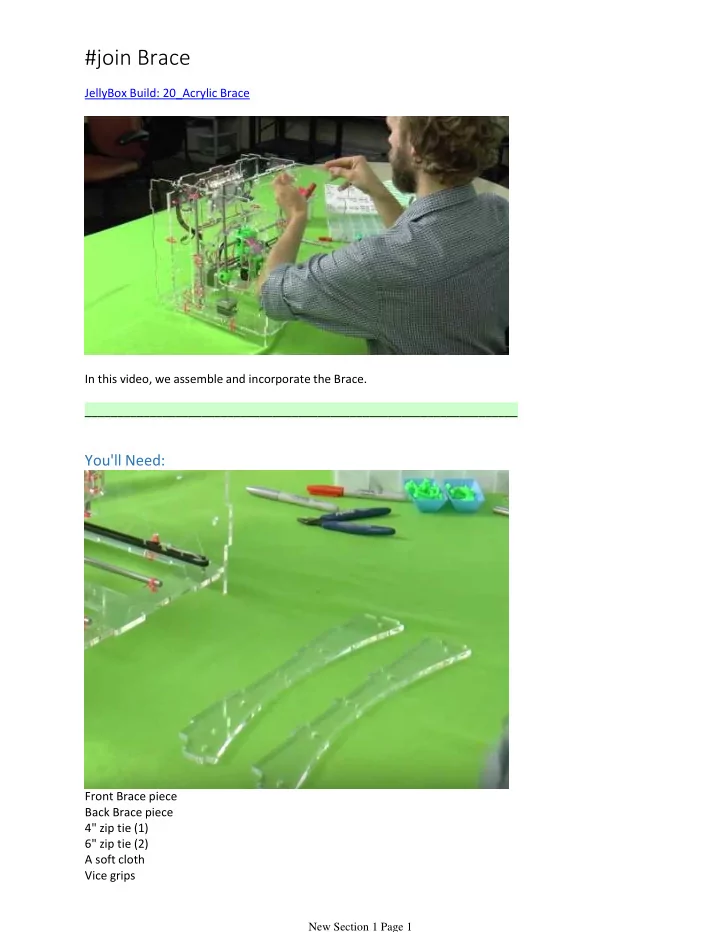

#join Brace JellyBox Build: 20_Acrylic Brace In this video, we assemble and incorporate the Brace. ___________________________________________________________________ You'll Need: Front Brace piece Back Brace piece 4" zip tie (1) 6" zip tie (2) A soft cloth Vice grips Side cutters New Section 1 Page 1
Side cutters Title: Clean the Brace Use a soft cloth to clean the brace parts. Any fingerprints or dirt stuck between the two will show. Title: Align the Brace Parts Place the front brace on top of the back brace. Title: Connect the Brace Pieces New Section 1 Page 2
Title: Connect the Brace Pieces New Section 1 Page 3
Use a 4" zip tie through the two central holes. Tighten the zip tie with vice grips. Cut the free end with side cutters. Title: Place the Brace in the Printer Gently flex left and the right acrylic pieces to put the brace into position. (See video if necessary!) Make sure the cut out in the brace is on the left side. Title: Secure the Brace with Zip Ties New Section 1 Page 4
Use two 6" zip ties to hold the brace in place. Place the heads of the ties behind the brace. Use vice grips and side cutters to tighten and clean up the connection. New Section 1 Page 5
Recommend
More recommend