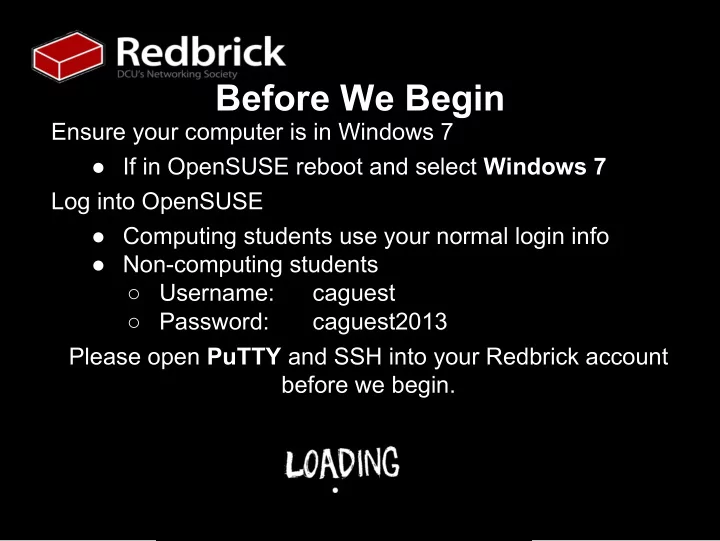
SLIDE 1 Before We Begin
Ensure your computer is in Windows 7
- If in OpenSUSE reboot and select Windows 7
Log into OpenSUSE
- Computing students use your normal login info
- Non-computing students
○ Username: caguest ○ Password: caguest2013 Please open PuTTY and SSH into your Redbrick account before we begin.
SLIDE 2 Today we will be covering:
- How to connect to other Redbrick servers
- Writing code on Redbrick
- What compilers and interpreters you can use
- How to transfer files via WinSCP
Developing on Redbrick
SLIDE 3
- Redbrick has a number of servers which are
running for different purposes
- A lot of people use the primary login server -
Azazel
- Pygmalion is our development server
○ Running Ubuntu 13.04 (STR) ○ Compilers and interpreters are installed by the admin team
Connecting to Other Servers
SLIDE 4 That’s nice, but how do we connect?
- SSH into Redbrick as normal
- When logged in, SSH using the server name (in
this case - Pygmalion) ssh pygmalion
- Because we are already connected to Redbrick
we don’t need “<server>.redbrick.dcu.ie”
- Notice that “username@azazel” has changed to
“username@pygmalion”
SLIDE 5
So we are now on Pygmalion, so let’s do something! There are a number of command line text editors on Redbrick, but the most simple to use for beginners is Nano. So let’s write a Java program. nano Hello.java
class Hello { public static void main(String[] args) { System.out.println("Hello World!"); } }
Writing Code
SLIDE 6
Right, so we are getting somewhere - we have a program but we have to compile and run it. First, compiling. This is basically ensuring the program can run (no errors) and to prepare the computer to run it. We have created a Java program, so we must use the Java compiler to ensure it will run.
Compilers and Interpreters
SLIDE 7 The Java compiler is javac, and it’s not too hard to
- use. How we’re going to use it is just using javac
and the name of the file. javac Hello.java Running the file is even easier, assuming you didn’t get any errors, using the java command as follows: java Hello Which should give you an output of: Hello World!
Using javac and java
SLIDE 8 There are a number of interpreters and compilers
- n Pygmalion for many languages, including the
following:
- C++
- Ruby
- Python
- Python3
- C
- Java
Other Compilers/Interpreters
SLIDE 9
WinSCP is an open-source Windows program for transferring files between your computer and a remote one - like a server. To start WinSCP, go to your Start menu and type WinSCP into the search box.
Transferring Files via WinSCP
SLIDE 10
You should get something like this:
Hostname: redbrick.dcu.ie
SLIDE 11
Your username and password will log you in, and show you local files on the left, and your account files on the right - from here it is very simple to use!
SLIDE 12
Questions?