
SLIDE 1
Disaster Planning
- V. Beelik
Are you ready! Disaster Planning Presentation: Plan Prepare - - PDF document
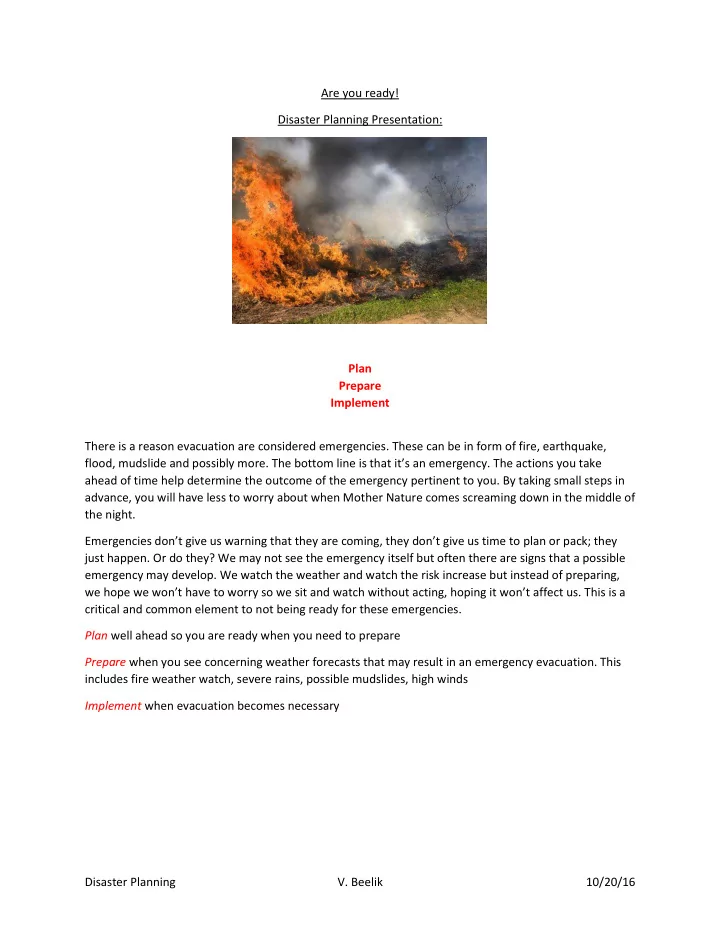
Are you ready! Disaster Planning Presentation: Plan Prepare Implement There is a reason evacuation are considered emergencies. These can be in form of fire, earthquake, flood, mudslide and possibly more. The bottom line is that its an