
SLIDE 1
Adventure Racing/Navigation 101
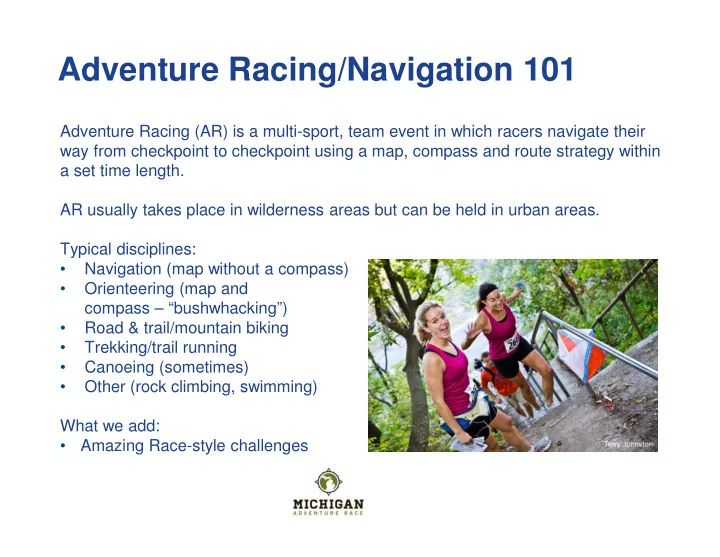
Adventure Racing (AR) is a multi-sport, team event in which racers navigate their way from checkpoint to checkpoint using a map, compass and route strategy within a set time length. AR usually takes place in wilderness areas but can be held in urban areas. Typical disciplines:
- Navigation (map without a compass)
- Orienteering (map and
compass – “bushwhacking”)
- Road & trail/mountain biking
- Trekking/trail running
- Canoeing (sometimes)
- Other (rock climbing, swimming)
What we add:
- Amazing Race-style challenges