
SLIDE 1
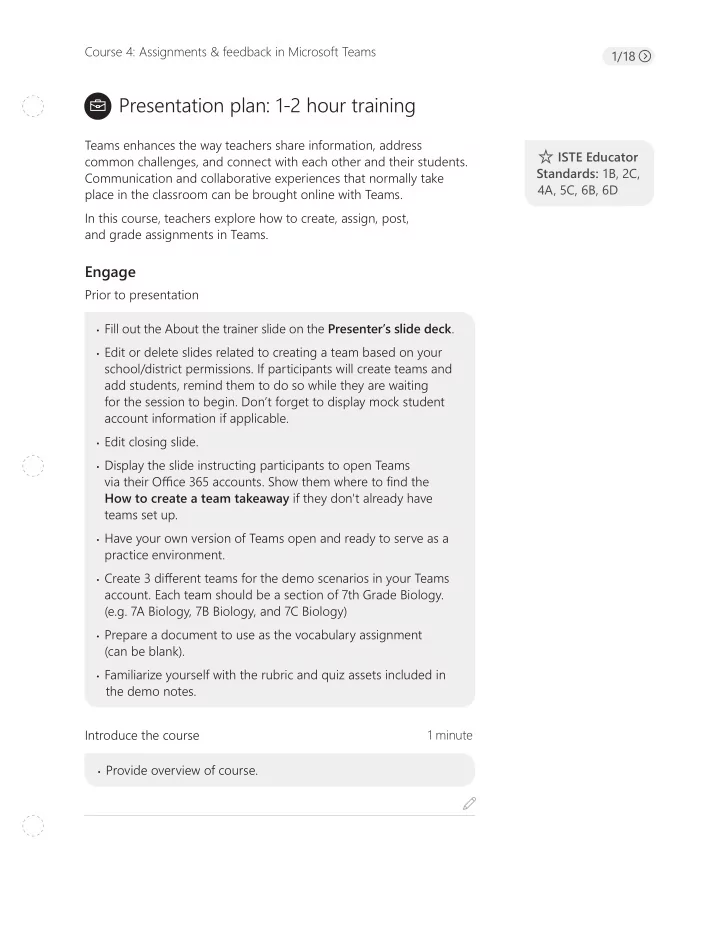
Course 4: Assignments & feedback in Microsoft Teams
- Fill out the About the trainer slide on the Presenter’s slide deck.
- Edit or delete slides related to creating a team based on your
school/district permissions. If participants will create teams and add students, remind them to do so while they are waiting for the session to begin. Don’t forget to display mock student account information if applicable.
- Edit closing slide.
- Display the slide instructing participants to open Teams
via their Offjce 365 accounts. Show them where to fjnd the How to create a team takeaway if they don't already have teams set up.
- Have your own version of Teams open and ready to serve as a
practice environment.
- Create 3 difgerent teams for the demo scenarios in your Teams
- account. Each team should be a section of 7th Grade Biology.
(e.g. 7A Biology, 7B Biology, and 7C Biology)
- Prepare a document to use as the vocabulary assignment
(can be blank).
- Familiarize yourself with the rubric and quiz assets included in
the demo notes.
Presentation plan: 1-2 hour training
1/18 1 minute
- Provide overview of course.