Conservation of Momentum 1 st year physics laboratories University - - PowerPoint PPT Presentation

conservation of momentum
SMART_READER_LITE
LIVE PREVIEW

Conservation of Momentum 1 st year physics laboratories University - - PowerPoint PPT Presentation

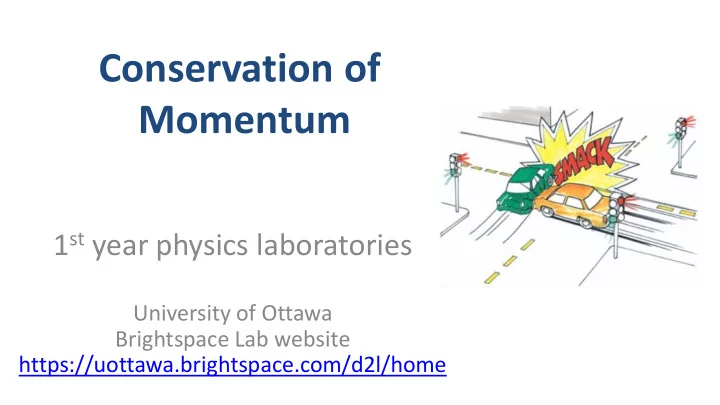
Conservation of Momentum 1 st year physics laboratories University of Ottawa Brightspace Lab website https://uottawa.brightspace.com/d2l/home INTRODUCTION In this experiment you will study the conservation of linear momentum and energy in


slide-1
SLIDE 1

Conservation of Momentum

1st year physics laboratories

University of Ottawa Brightspace Lab website https://uottawa.brightspace.com/d2l/home

slide-2
SLIDE 2

INTRODUCTION

  • In this experiment you will study the conservation of

linear momentum and energy in two different types of collisions in 1D.

  • A moving object possesses kinetic energy (E = mv2/2)

and momentum (p = mv).

  • When two objects undergo a collision, the velocity

(and thus momentum) of each object will change.

  • We will examine 2 types of collisions: elastic and

inelastic.

slide-3
SLIDE 3

INTRODUCTION (cont.)

  • We consider two gliders on an air track to be our

single, closed system.

  • The position of the centre of mass for the two

gliders, xCM is: where the indices 1 and 2 refer to 1st and 2nd object.

  • In part 1 you will analyze the motion of two gliders

during a collision and examine the behaviour of their centre of mass.

slide-4
SLIDE 4

INTRODUCTION (cont.)

  • In a closed system, any force that one object

exerts on another are internal to the system.

  • In parts 2 and 3, we will examine the momentum

and kinetic energy of both gliders undergoing elastic and inelastic collision to see how these forces affect the property of our system.

  • When two objects collide, the total momentum is

conserved:

slide-5
SLIDE 5

OBJECTIVES

  • Compare position-time graphs for individual

gliders with one for the centre of mass of the system.

  • Compare velocity-time graphs for gliders

undergoing two types of collisions.

  • Compare momentum and kinetic energy of your

system before and after the collisions.

slide-6
SLIDE 6

The setup (elastic):

Glider 1 Glider 2 (with extra masses) Elastic bumpers

slide-7
SLIDE 7

The setup (inelastic):

Glider 1 Glider 2 (with extra masses) Needle and wax receptacle

slide-8
SLIDE 8

The setup

Closer view of the elastic bumpers: Motion detector setup: Closer view of the needle and the wax receptacle:

slide-9
SLIDE 9

PRELIMINARY TASKS

  • Launch Logger Pro, turn on air supply (note, you

are sharing the supply!), adjust the air flow.

  • Level your track using the adjustable legs.
  • Make sure the velcro stoppers are firmly held

about 10 cm from each motion detector.

  • Make sure the round discs on both gliders are

facing their respective motion detector.

slide-10
SLIDE 10

PART 1 – CENTRE OF MASS

  • Zero both your sensors with the gliders at the centre
  • f the track. One detector should be set to “reverse

direction”.

  • Using a pair of elastic bumpers, gently collide glider 1

with glider 2.

  • Create a column to calculate the position of the centre
  • f mass, xCM, during the collision.
  • Analyse the graph to determine velocities of:

1) glider 1 before the collision 2) glider 2 after the collision 3) the centre of mass before and after the collision

slide-11
SLIDE 11

PART 2 – ELASTIC COLLISION

  • Using the same setup as Part 1, record data for an

elastic collision (elastic bumpers).

  • Using position vs. time graphs, obtain the velocities of

each glider before and after the collision.

  • Add a couple weights to glider 2 and try the collision

again using two objects of different masses (light

  • bject hits heavier object)
  • Try the collision again but this time have the heavier
  • bject hit the lighter one.
slide-12
SLIDE 12

Part 1 & 2 - Elastic collision

slide-13
SLIDE 13

PART 3 – INELASTIC COLLISION

  • Switch to the needle and wax receptacle bumpers.
  • Perform a collision with two gliders of equal mass.

– Make sure the gliders can travel smoothly all the way to the

  • ther end of the track without stopping after your collision.
  • Using position vs. time graphs, obtain the velocities of

each glider before and after the collision.

  • Like in part 2, repeat for a lighter object hitting a

heavier one and vice versa.

slide-14
SLIDE 14

Part 3 - Inelastic collision

slide-15
SLIDE 15

CALCULATIONS USING A SPREADSHEET

  • Write your labels and

input your data.

  • Write the equation

and press enter.

  • If you change the

data, your equation will be automatically updated.

  • Expand your

spreadsheet as required:

slide-16
SLIDE 16

CLEAN UP!

  • Turn off the air supply, computer, and

don’t forget to take your USB key.

  • Put the gliders, bumpers, and weights on

the table.

  • Please recycle scrap paper and throw

away any garbage. Please leave your station as clean as you can.

  • Push back the monitor, keyboard, and
  • mouse. Please push your chair back under

the table.

  • Thank you!

DUE DATE

The report is due at the end of the lab session! Make sure you submit your graphs in Brightspace before leaving! Don’t forget to do your pre-lab test for the next experiment!

PRE-LAB